Loading into a world with Default Textures Improved feels kinda strange at first — in a good way. Everything looks familiar, but also… cleaner. Sharper. Like you wiped dust off something you’ve been staring at for years. That’s basically the whole vibe of the DTI Resource Pack. It doesn’t try to reinvent Minecraft or turn it into some ultra-realistic showcase. It just quietly makes the default textures better, and honestly, that restraint is what makes it work so well.
As you start moving around, the little things jump out. Leaves look fuller without being noisy, tree bark has more definition, and ores underground stand out just enough to be satisfying without screaming for attention. Mining with the DTI Resource Pack feels oddly calming, if that makes sense. You’re not distracted by flashy textures or weird color shifts. Everything still feels vanilla, just… upgraded. Kinda like what packs such as the Faithful Resource Pack aim for, but with its own slightly cleaner twist.
What I really like is how consistent it feels. No block looks out of place. Whether you’re building a massive base, wandering through biomes, or fighting mobs in a dark cave, the visuals never pull you out of the moment. That’s something a lot of packs struggle with. The DTI Resource Pack keeps the nostalgic charm intact while quietly reducing that chunky pixelation people sometimes get tired of. If you’ve ever tried something heavier like the Clarity Resource Pack and thought, “yeah this looks nice but it’s a bit much,” DTI lands right in that sweet spot.
Performance-wise, it’s chill. No sudden FPS drops, no need for a beefy setup. That’s a big reason people stick with the DTI Resource Pack long-term. It gives you that polished look without demanding extra effort. Pairing it with tools like OptiFine just smooths things out even more, but it’s not mandatory.
At the end of the day, this pack is for players who love Minecraft the way it already is… they just want it to look a little clearer, a little nicer, and a lot more comfortable to play for hours. No drama. No gimmicks. Just better vanilla, done right.
| Minecraft Version | Compatibility |
|---|---|
| 1.7.10 | ✅ Supported |
| 1.7.9 | ✅ Supported |
| 1.7.4 | ✅ Supported |
| 1.7 | ✅ Supported |
| 1.6.4 | ✅ Supported |
| 1.6.2 | ✅ Supported |
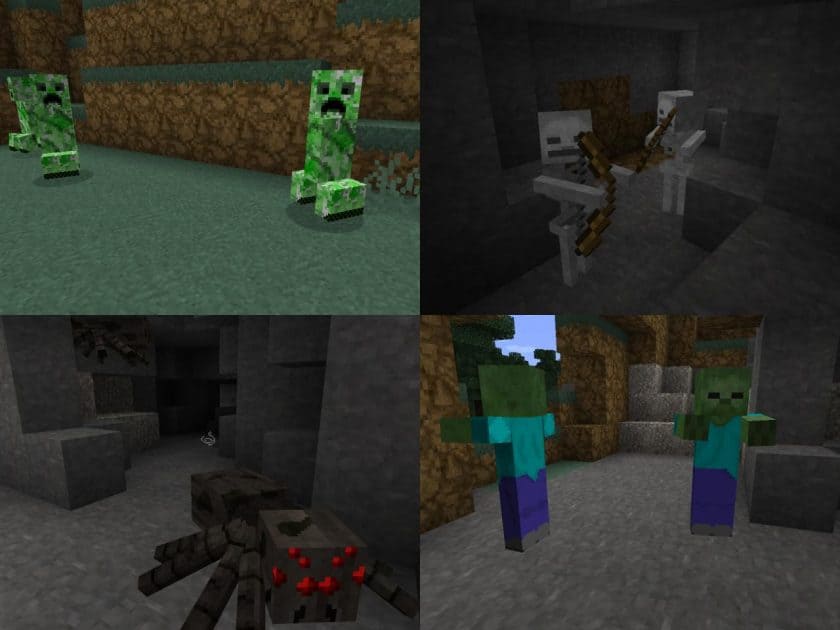
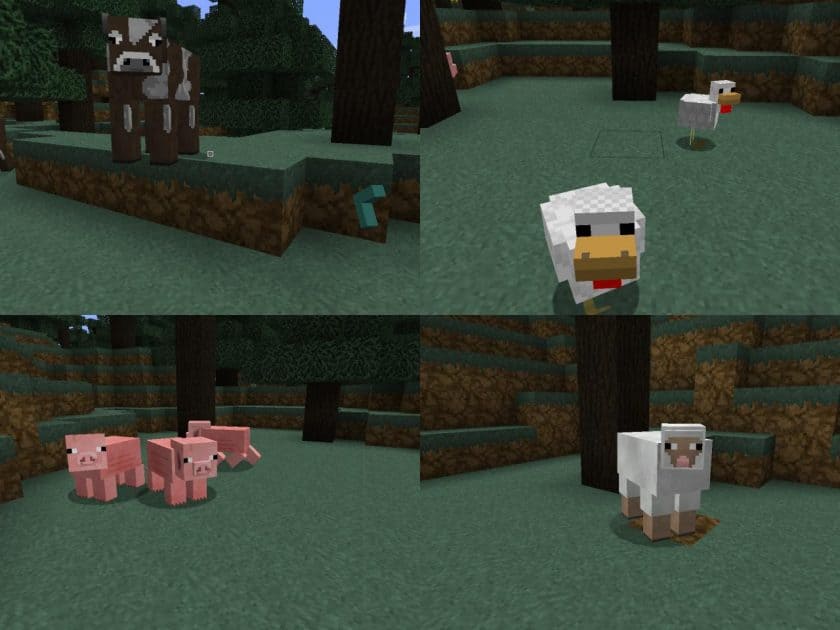
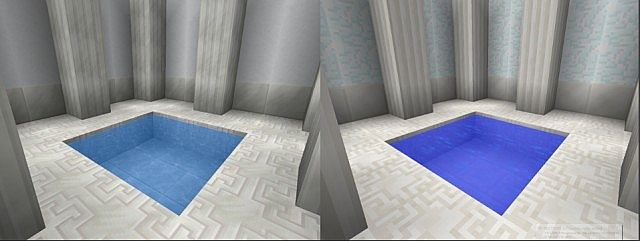
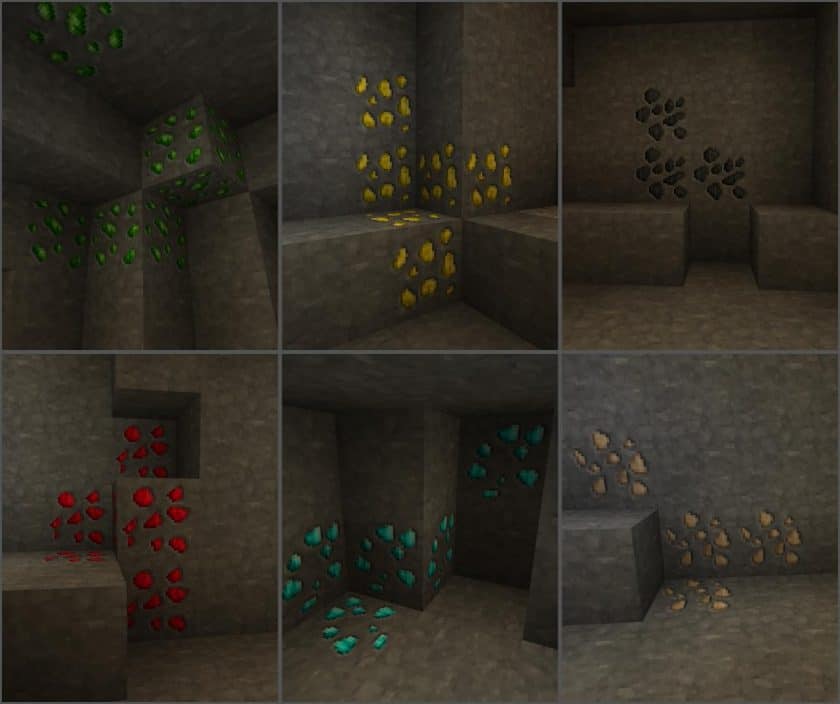
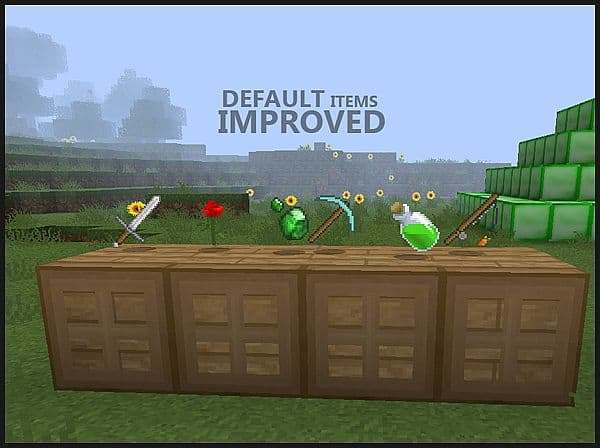
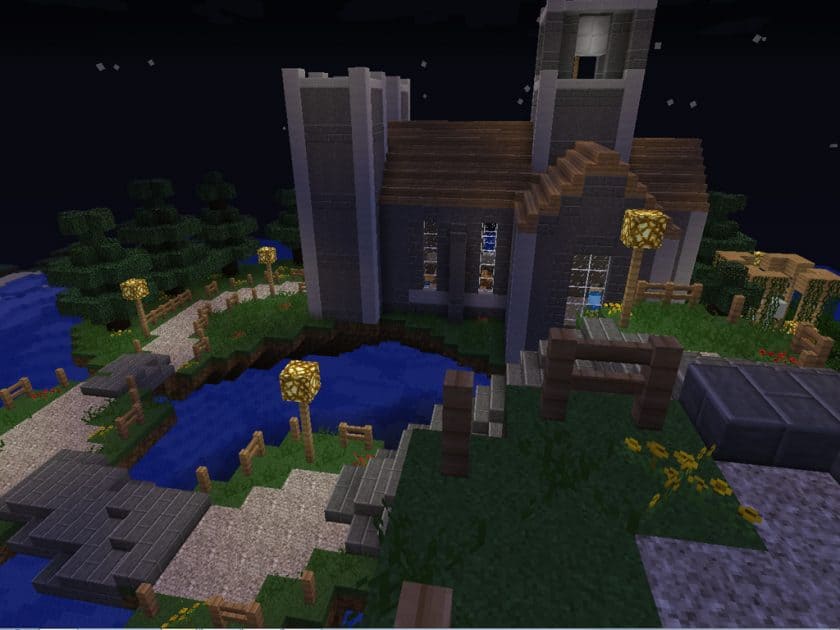
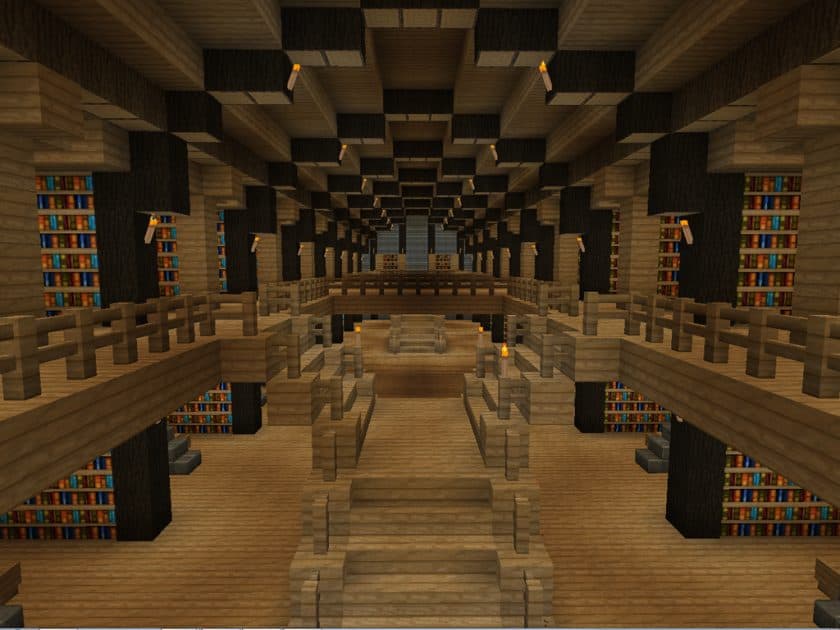
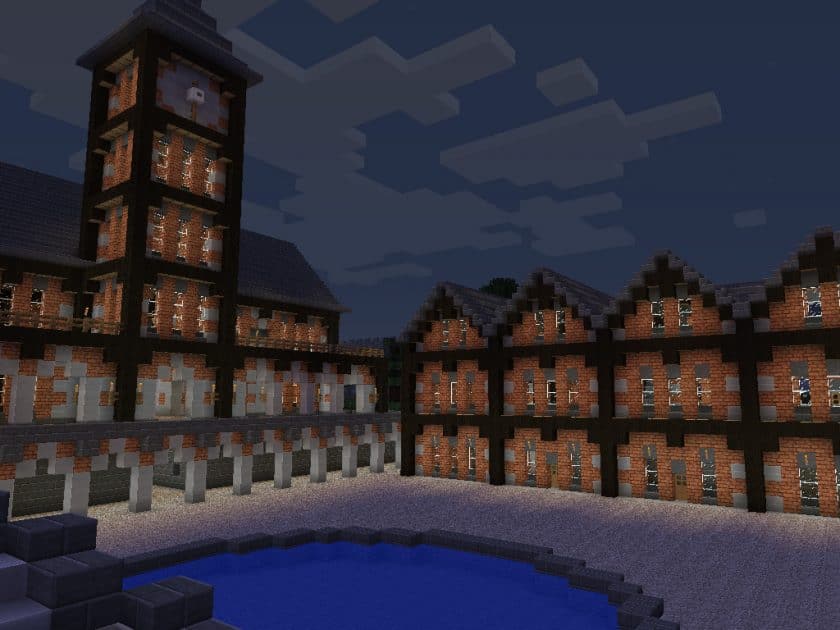
Default Textures Improved – Screenshots & Videos


How to Install Texture Pack (Simple 10 Steps)
- Download Optifine: Most of the texture packs and shaders need Optifine. That’s why, first download and install Optifine for the version of Minecraft you want to play.
- Download the Texture Pack: Get the texture pack you want from the download section. Choose the version that works with your Minecraft and your PC’s performance.
- Open Minecraft Launcher: Start Minecraft using the official game launcher – or even TLauncher, if you use that.
- Go to Options: From the main menu, click on the “Options” button.
- Open Resource Packs: Inside Options, click on “Resource Packs…”.
- Open the Resource Pack Folder: Click on “Open Resource Pack Folder” – this will open a folder named “resourcepacks”.
- Move the Pack File: Copy or move the .zip file you downloaded into that “resourcepacks” folder. (Don’t unzip the file – Minecraft uses it as-is!)
- Go Back and Refresh: Close the folder and click “Done”, then go back into “Resource Packs…” again.
- Activate the Pack: You’ll see the pack on the left side. Hover over it and click the arrow to move it to the right (active side). Tip: If you get a message that the pack is for a different version, just click “Yes” – it usually works fine.
- Click Done and Enjoy: Click “Done” again. Now your pack is ready to use in-game. It’s that easy!
Download
(32x) (1.7) Download the default pack of improved textures
(32x) (1.6) Download the default pack of improved textures
Download Instructions
- CurseForge: If the pack is hosted on CurseForge, the download will begin automatically after a few seconds. If it does not start, use the “Download” button shown on the page.
- Modrinth: If the download is from Modrinth, click the file version that matches your Minecraft build, then press the Download button. Modrinth usually offers multiple releases, so make sure you pick the correct version before installing.
- Mediafire: On Mediafire, click the large blue Download button to start the file download. Avoid any extra pop-ups or buttons that are not related to the direct download.
- Google Drive: For Google Drive, click the small download icon at the top right corner of the page. It looks like a downward arrow. The file will be saved to your computer immediately.
Disclaimer We do not create or modify any of the texture packs or shader packs shared on this website. All credit goes to the original creators, and every download link we provide is the official link from their page, which keeps all downloads safe. Some links may stop working after updates, so if you find a broken one, let us know in the comments and we will update it quickly. If you like a pack, consider supporting the creator by visiting their official page or website that we have linked below, and feel free to leave a comment or vote to help their work reach more players.