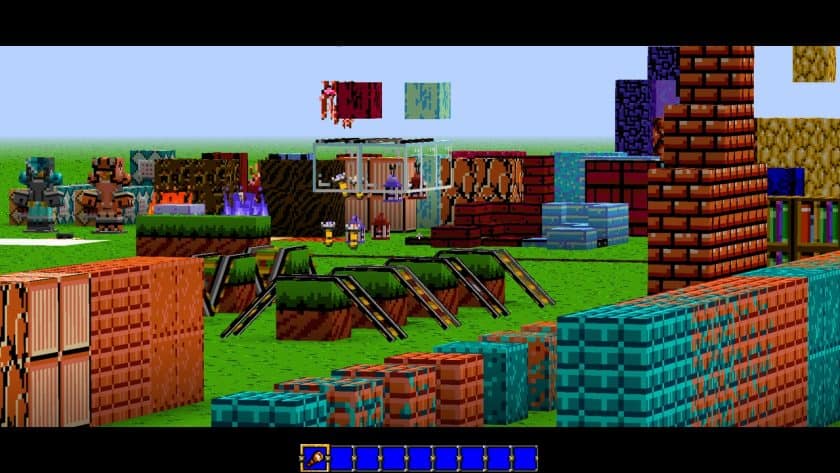
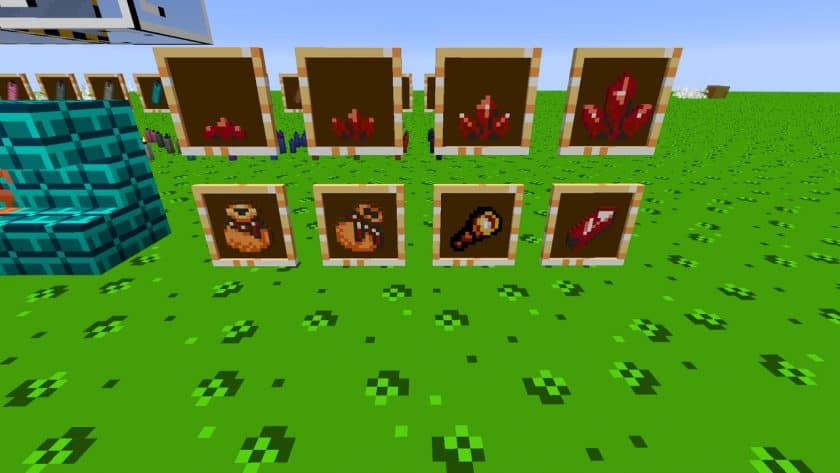
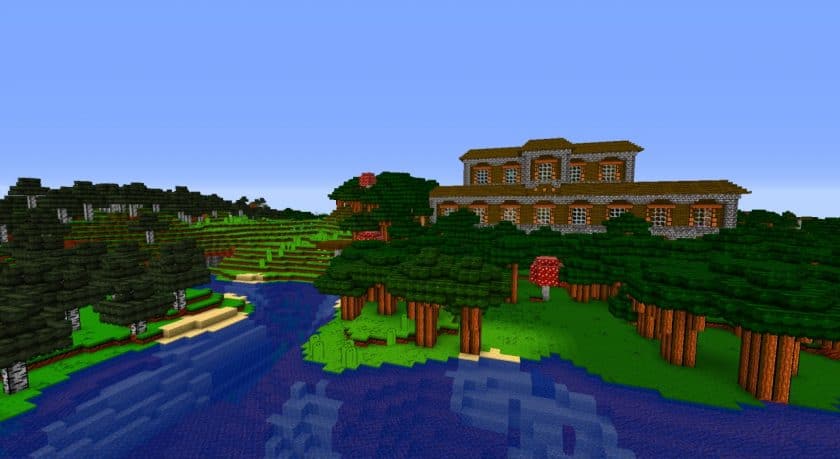
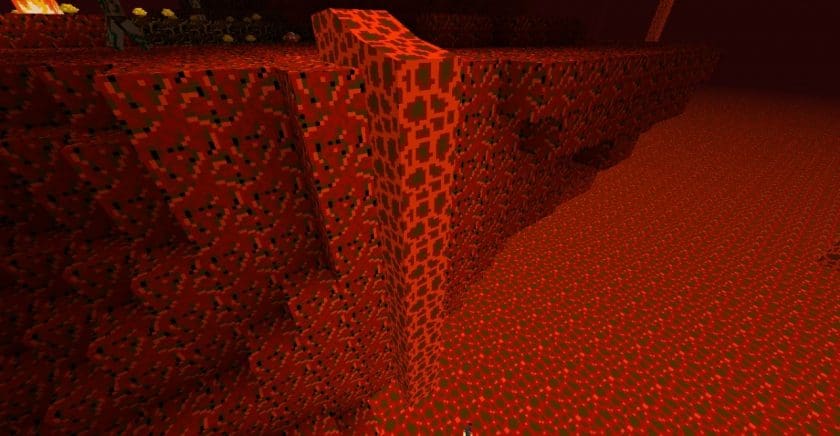
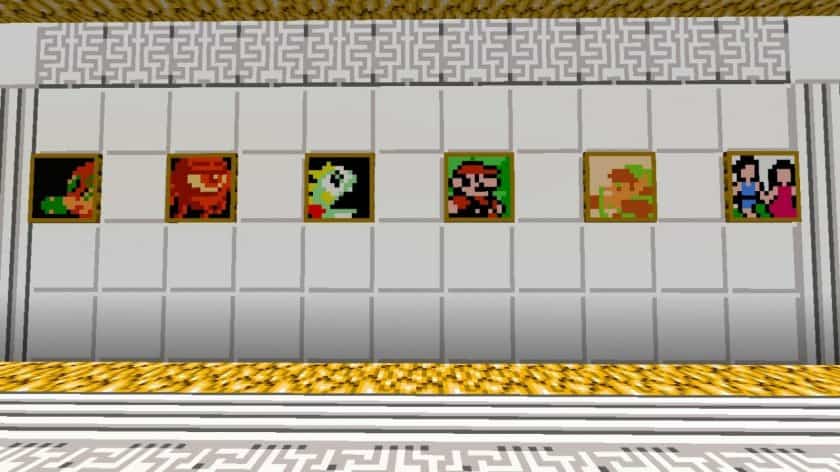
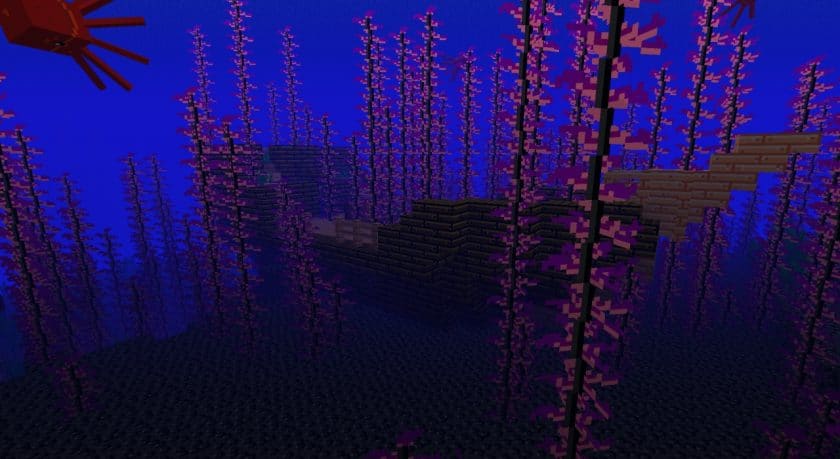
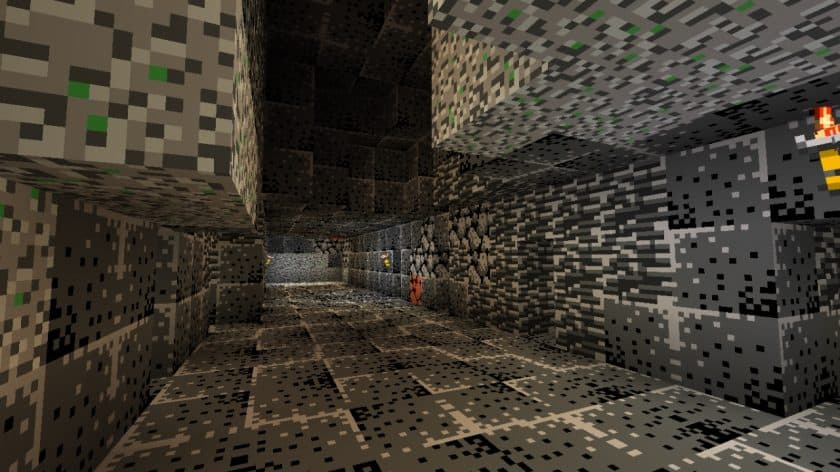
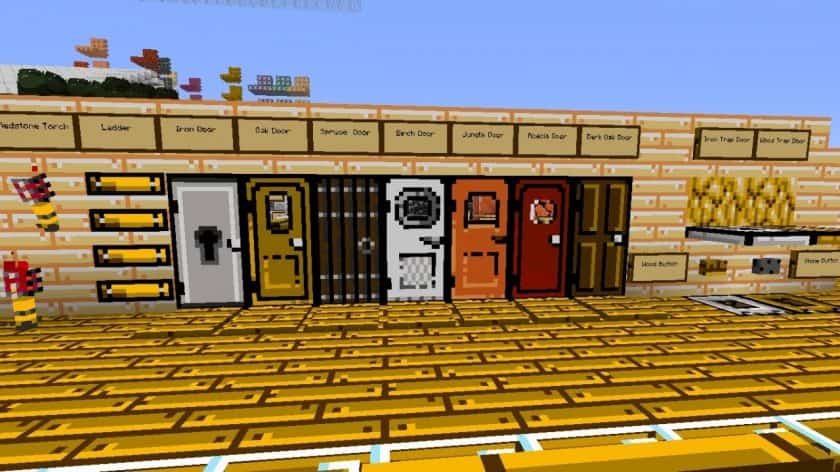
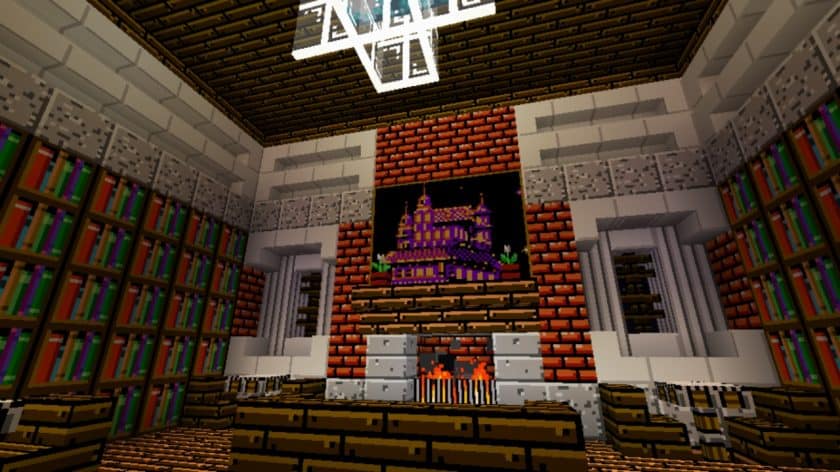
Stepping into a Minecraft world with the Retro NES Resource Pack is like loading up a cherished classic from a bygone era. Immediately, the familiar 16×16 pixel art style washes over everything, transforming the blocky landscape into a vibrant, yet wonderfully constrained, 8-bit playground. The color palette, deliberately limited to mimic the iconic Nintendo Entertainment System, evokes an instant wave of nostalgia for anyone who grew up with a controller in hand. Every tree, every block, every creature takes on a charmingly retro aesthetic, stripping away modern graphical complexities to reveal a simpler, yet profoundly engaging, visual experience.
This isn’t just a visual overhaul; the Retro NES pack goes a step further by dramatically redesigning the game’s audio. From the moment you hear the first block break or a mob’s familiar cry, you’re transported, as default Minecraft sounds are replaced with a delightful symphony of bleeps and boops that instantly recall classic NES titles. It’s an immersive journey, making every action, every exploration, feel like a new level in an old game. The pack’s low resolution is not just an artistic choice but a practical benefit, ensuring that even players with older or less powerful PCs can dive into this pixelated adventure without compromising on performance or frame rates. Developed by Knightworm, who continued the vision of the original creator, this resource pack is a heartfelt homage, offering a unique blend of Minecraft’s expansive creativity with the timeless charm of retro gaming. It truly makes the entire game feel radically different, a fresh take that celebrates simplicity and nostalgic joy.
| Minecraft Version | Compatibility |
|---|---|
| 1.20 | ✅ Supported |
| 1.19.4 | ✅ Supported |
| 1.19.3 | ✅ Supported |
| 1.19.2 | ✅ Supported |
| 1.19.1 | ✅ Supported |
| 1.19 | ✅ Supported |
| 1.18.2 | ✅ Supported |
| 1.18.1 | ✅ Supported |
| 1.18 | ✅ Supported |
| 1.17.1 | ✅ Supported |
| 1.17 | ✅ Supported |
| 1.16.5 | ✅ Supported |
| 1.16.4 | ✅ Supported |
| 1.16.3 | ✅ Supported |
| 1.16.2 | ✅ Supported |
| 1.16 | ✅ Supported |
| 1.15.2 | ✅ Supported |
| 1.15.1 | ✅ Supported |
| 1.15 | ✅ Supported |
| 1.14.4 | ✅ Supported |
| 1.14.3 | ✅ Supported |
| 1.14.2 | ✅ Supported |
| 1.14 | ✅ Supported |
| 1.13.2 | ✅ Supported |
| 1.13.1 | ✅ Supported |
| 1.13 | ✅ Supported |
| 1.12.2 | ✅ Supported |
| 1.12 | ✅ Supported |
| 1.11.2 | ✅ Supported |
| 1.11 | ✅ Supported |
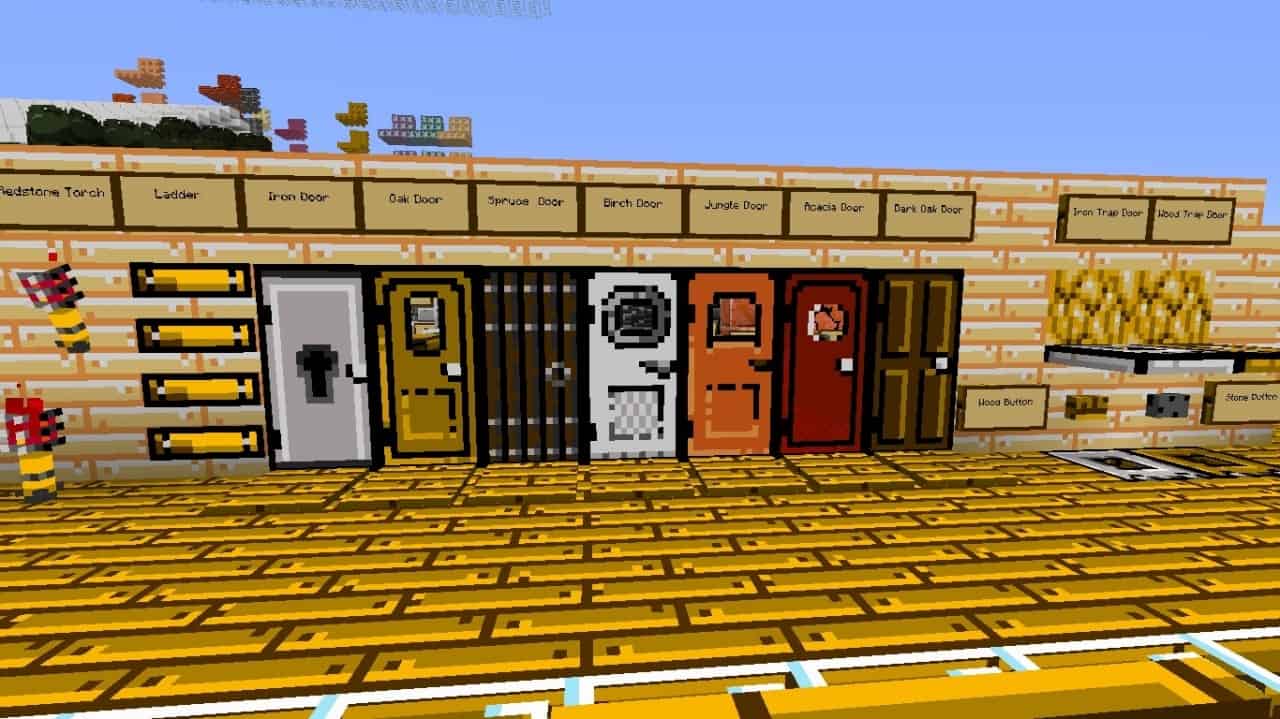
Retro NES Resource Pack – Screenshots
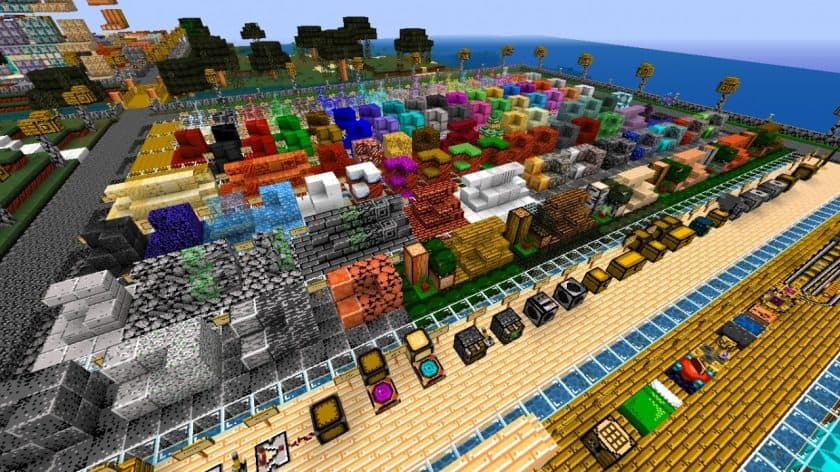
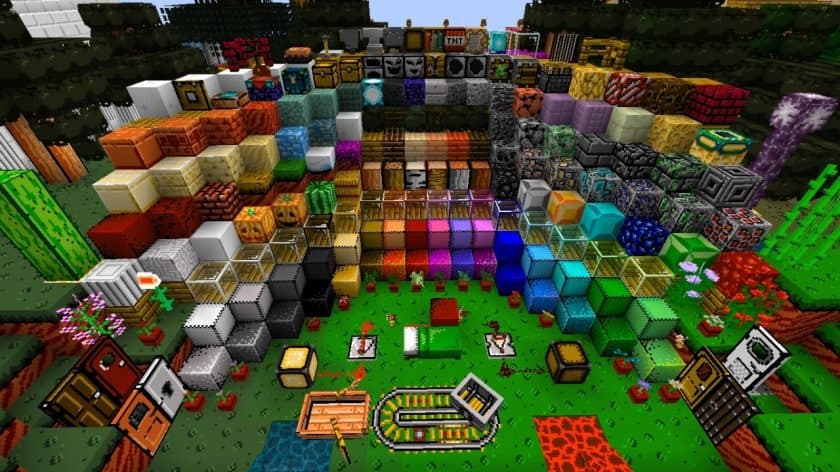
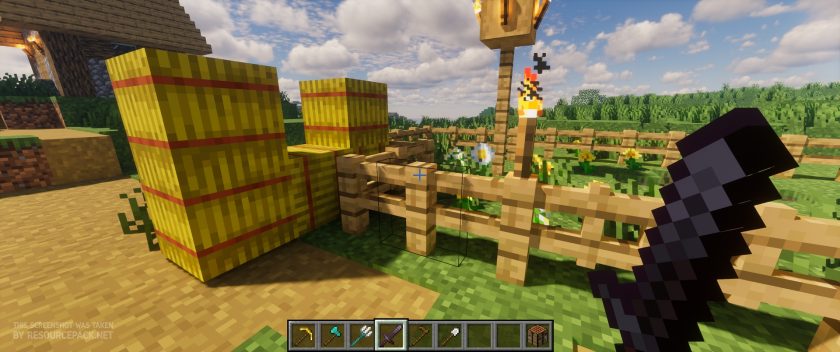
Vanilla (Kappa Shaders)
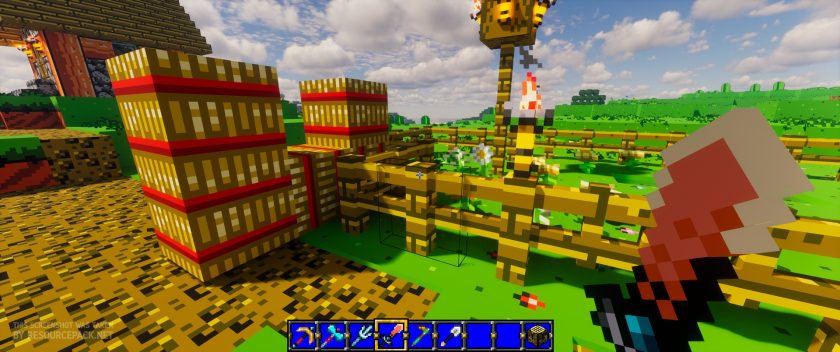
Retro NES (Kappa Shaders)
How to Install Texture Pack (Simple 10 Steps)
- Download Optifine: Most of the texture packs and shaders need Optifine. That’s why, first download and install Optifine for the version of Minecraft you want to play.
- Download the Texture Pack: Get the texture pack you want from the download section. Choose the version that works with your Minecraft and your PC’s performance.
- Open Minecraft Launcher: Start Minecraft using the official game launcher – or even TLauncher, if you use that.
- Go to Options: From the main menu, click on the “Options” button.
- Open Resource Packs: Inside Options, click on “Resource Packs…”.
- Open the Resource Pack Folder: Click on “Open Resource Pack Folder” – this will open a folder named “resourcepacks”.
- Move the Pack File: Copy or move the .zip file you downloaded into that “resourcepacks” folder. (Don’t unzip the file – Minecraft uses it as-is!)
- Go Back and Refresh: Close the folder and click “Done”, then go back into “Resource Packs…” again.
- Activate the Pack: You’ll see the pack on the left side. Hover over it and click the arrow to move it to the right (active side). Tip: If you get a message that the pack is for a different version, just click “Yes” – it usually works fine.
- Click Done and Enjoy: Click “Done” again. Now your pack is ready to use in-game. It’s that easy!
Download
Retro NES Texture Pack Download
Download Instructions
-
CurseForge: If the pack is hosted on CurseForge, the download will begin automatically after a few seconds. If it does not start, use the “Download” button shown on the page.
-
Modrinth: If the download is from Modrinth, click the file version that matches your Minecraft build, then press the Download button. Modrinth usually offers multiple releases, so make sure you pick the correct version before installing.
-
Mediafire: On Mediafire, click the large blue Download button to start the file download. Avoid any extra pop-ups or buttons that are not related to the direct download.
-
Google Drive: For Google Drive, click the small download icon at the top right corner of the page. It looks like a downward arrow. The file will be saved to your computer immediately.
Disclaimer We do not create or modify any of the texture packs or shader packs shared on this website. All credit goes to the original creators, and every download link we provide is the official link from their page, which keeps all downloads safe. Some links may stop working after updates, so if you find a broken one, let us know in the comments and we will update it quickly. If you like a pack, consider supporting the creator by visiting their official page or website that we have linked below, and feel free to leave a comment or vote to help their work reach more players.