
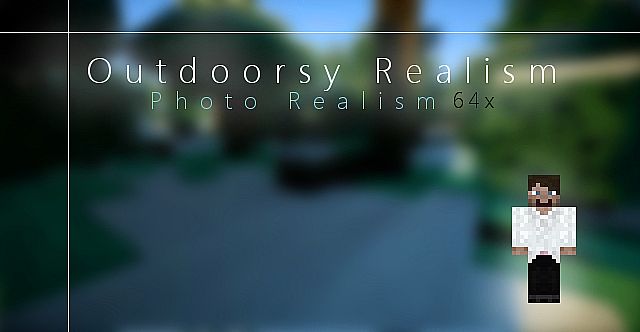
Loading into the Outdoorsy Realism Resource Pack honestly feels like opening a time capsule from Minecraft’s early realism days. This thing came out years ago, back when pushing visuals actually felt experimental, and you can still feel that ambition when you use it now. It hasn’t been updated in a long time, yeah, but if you’re playing on older versions like 1.6 or 1.7, that’s exactly where the Outdoorsy Realism Resource Pack still shows its magic. It’s rough around the edges in places, but that’s part of the charm.
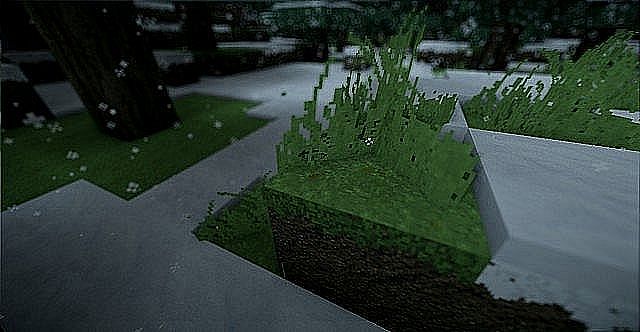
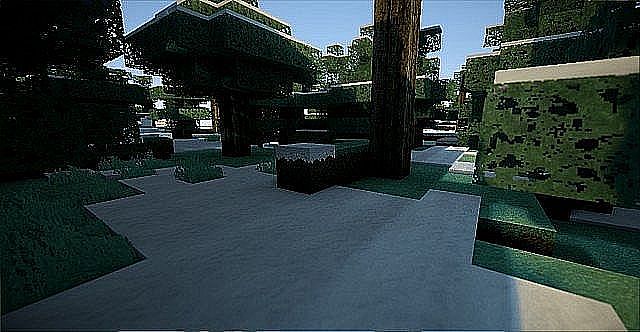
The first thing you notice is the jump from basic 16x textures to 64x. And no, it’s not just a numbers game. Forests suddenly feel thicker, stone looks heavier, and the whole world feels a bit more grounded. Not every texture is redone, but enough of them are that walking around feels noticeably different. It has that same “early realism experiment” energy you’ll recognize if you’ve ever tried something like the Colorful Realism Resource Pack, where detail mattered more than perfection.
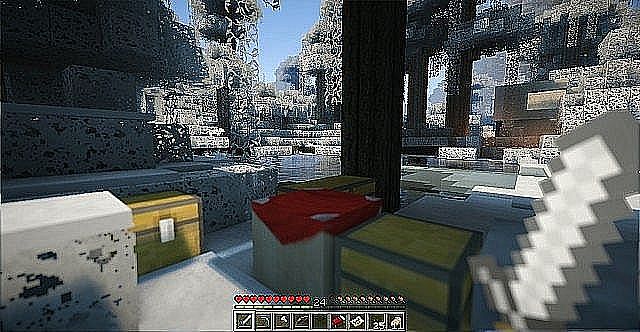
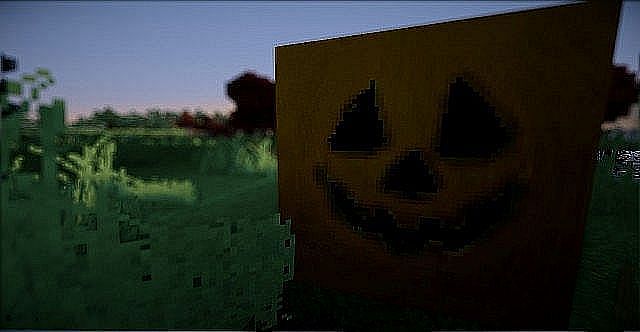
Once you spend some time with the Outdoorsy Realism Resource Pack, you start catching smaller details. Weapons and armor look tougher, more believable. Biomes feel moodier. Even rain and water effects have this extra weight to them. And yeah, there’s some weird stuff too — villagers look more realistic, and there’s this creepy Slenderman-style mob texture that can catch you off guard when you’re wandering at night. It’s unsettling in a way that actually works. Packs like the Vividity Resource Pack also play with atmosphere, but Outdoorsy leans much harder into that old-school realism vibe.
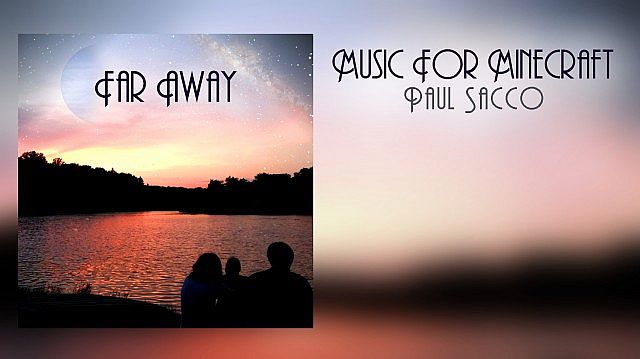
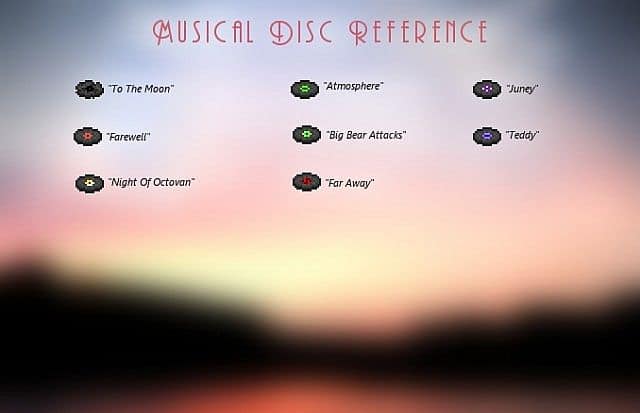
What surprised me most is how far it goes beyond blocks. The Outdoorsy Realism Resource Pack adds new music, sharper sound effects, and even tweaks the GUI and menus. Inventory screens look cleaner, icons feel more consistent, and everything ties together in this oddly cohesive way. It reminds me a bit of how complete packs like the RealCraft Resource Pack try to overhaul the entire experience, not just the world itself.
At the end of the day, the Outdoorsy Realism Resource Pack isn’t about modern polish. It’s about history. It’s about seeing where Minecraft realism started and enjoying that slightly rough, ambitious style that helped shape what texture packs eventually became. If you like nostalgia mixed with heavier detail, this one still has something special going on.
| Minecraft Version | Compatibility |
|---|---|
| 1.7.10 | ✅ Supported |
| 1.7.9 | ✅ Supported |
| 1.7.4 | ✅ Supported |
| 1.7 | ✅ Supported |
| 1.6.4 | ✅ Supported |
| 1.6.2 | ✅ Supported |
Outdoorsy Realism – Screenshots


How to Install Texture Pack (Simple 10 Steps)
- Download Optifine: Most of the texture packs and shaders need Optifine. That’s why, first download and install Optifine for the version of Minecraft you want to play.
- Download the Texture Pack: Get the texture pack you want from the download section. Choose the version that works with your Minecraft and your PC’s performance.
- Open Minecraft Launcher: Start Minecraft using the official game launcher – or even TLauncher, if you use that.
- Go to Options: From the main menu, click on the “Options” button.
- Open Resource Packs: Inside Options, click on “Resource Packs…”.
- Open the Resource Pack Folder: Click on “Open Resource Pack Folder” – this will open a folder named “resourcepacks”.
- Move the Pack File: Copy or move the .zip file you downloaded into that “resourcepacks” folder. (Don’t unzip the file – Minecraft uses it as-is!)
- Go Back and Refresh: Close the folder and click “Done”, then go back into “Resource Packs…” again.
- Activate the Pack: You’ll see the pack on the left side. Hover over it and click the arrow to move it to the right (active side). Tip: If you get a message that the pack is for a different version, just click “Yes” – it usually works fine.
- Click Done and Enjoy: Click “Done” again. Now your pack is ready to use in-game. It’s that easy!
Download
(64x) (1.7.x – 1.6.x) Download Outdoorsy Realism Resource Pack
Official links:
Check out the Outdoorsy Realism Resource Pack on the official resource
Download Instructions
- CurseForge: If the pack is hosted on CurseForge, the download will begin automatically after a few seconds. If it does not start, use the “Download” button shown on the page.
- Modrinth: If the download is from Modrinth, click the file version that matches your Minecraft build, then press the Download button. Modrinth usually offers multiple releases, so make sure you pick the correct version before installing.
- Mediafire: On Mediafire, click the large blue Download button to start the file download. Avoid any extra pop-ups or buttons that are not related to the direct download.
- Google Drive: For Google Drive, click the small download icon at the top right corner of the page. It looks like a downward arrow. The file will be saved to your computer immediately.
Disclaimer We do not create or modify any of the texture packs or shader packs shared on this website. All credit goes to the original creators, and every download link we provide is the official link from their page, which keeps all downloads safe. Some links may stop working after updates, so if you find a broken one, let us know in the comments and we will update it quickly. If you like a pack, consider supporting the creator by visiting their official page or website that we have linked below, and feel free to leave a comment or vote to help their work reach more players.