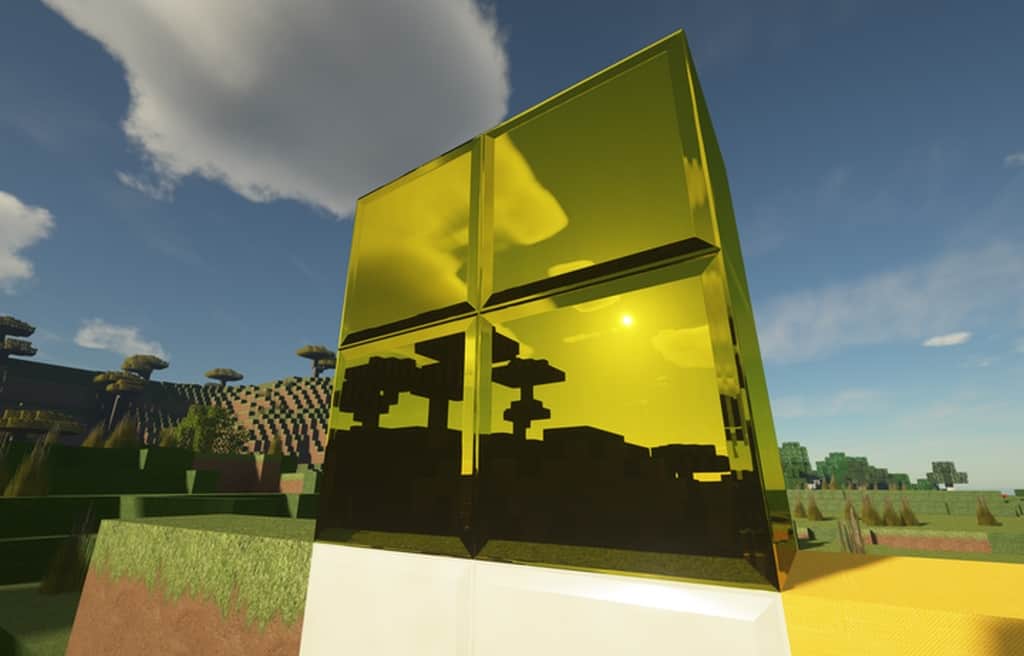
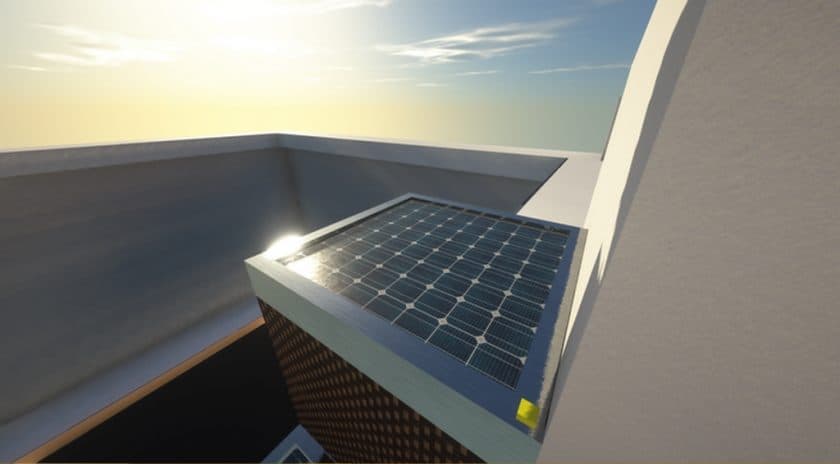
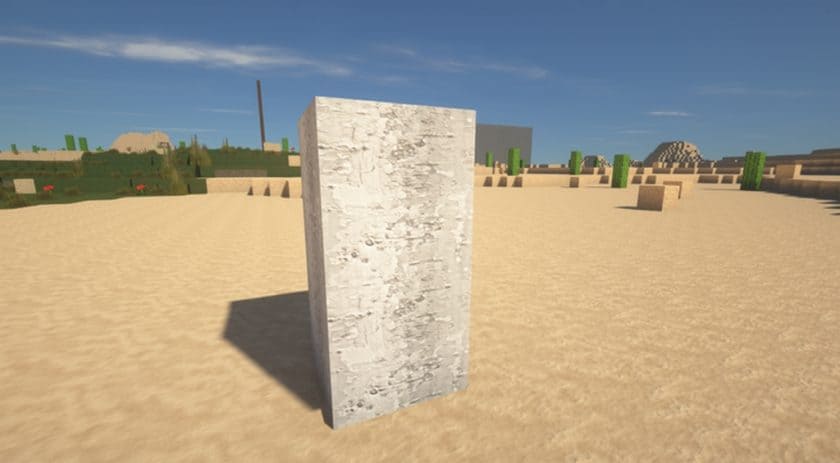
Stepping into a world powered by the Meteor (LMX) Resource Pack feels like experiencing Minecraft with a fresh pair of eyes. Formerly known as Luracasmus Modern Extreme, this pack redefines visual fidelity with its innovative design, crafting an atmosphere that instantly captivates. It stands out by meticulously blending highly detailed textures with a unique aesthetic, moving beyond typical resource packs to offer a truly immersive experience. The creator, Luracasmus, has focused on a complete visual overhaul, ensuring that every block and environmental element contributes to a cohesive, stunning landscape.
The Meteor (LMX) pack is renowned for its strikingly realistic textures, enhanced further by the intelligent use of normal and reflection maps. This technical wizardry breathes life into the world, adding depth and a tangible feel to surfaces that often go unnoticed. While extreme detail can sometimes overwhelm, Meteor (LMX) strikes a perfect balance, utilizing inventive design techniques to maintain a vibrant and inviting atmosphere. To fully unlock its potential and witness the breathtaking visuals it offers, pairing this pack with a suitable shader pack is highly recommended. Shaders enhance the lighting, shadows, and reflections, making the realistic textures truly shine and providing a seamless visual feast.
Given the ambition and resolution of the Meteor (LMX) pack, a powerful system is certainly beneficial for the smoothest experience. The base resolution begins at a crisp 256×256, which already demands a capable PC to prevent any frame rate drops. For those seeking even higher levels of detail, the pack offers impressive 1024×1024 and 2048×2048 resolutions, though these are typically reserved for Patreon subscribers and require an extremely robust gaming rig. It’s worth noting that while the pack is a work in progress, currently around 65% complete, its current state already delivers an outstanding visual upgrade, hinting at even greater things to come from this ambitious project. The commitment to such a detailed visual transformation is evident in every carefully crafted texture.
| Minecraft Version | Compatibility |
|---|---|
| 1.20.4 | ✅ Supported |
| 1.20.3 | ✅ Supported |
| 1.20.2 | ✅ Supported |
| 1.20.1 | ✅ Supported |
| 1.20 | ✅ Supported |
| 1.19.4 | ✅ Supported |
| 1.19.3 | ✅ Supported |
| 1.19.2 | ✅ Supported |
| 1.19.1 | ✅ Supported |
| 1.19 | ✅ Supported |
| 1.18.2 | ✅ Supported |
| 1.18.1 | ✅ Supported |
| 1.18 | ✅ Supported |
| 1.17.1 | ✅ Supported |
| 1.17 | ✅ Supported |
| 1.16.5 | ✅ Supported |
| 1.16.4 | ✅ Supported |
| 1.16.3 | ✅ Supported |
| 1.16.2 | ✅ Supported |
| 1.16.1 | ✅ Supported |
| 1.16 | ✅ Supported |
| 1.15.2 | ✅ Supported |
| 1.15.1 | ✅ Supported |
| 1.15 | ✅ Supported |
| 1.14.4 | ✅ Supported |
| 1.14.3 | ✅ Supported |
| 1.14.2 | ✅ Supported |
| 1.14 | ✅ Supported |
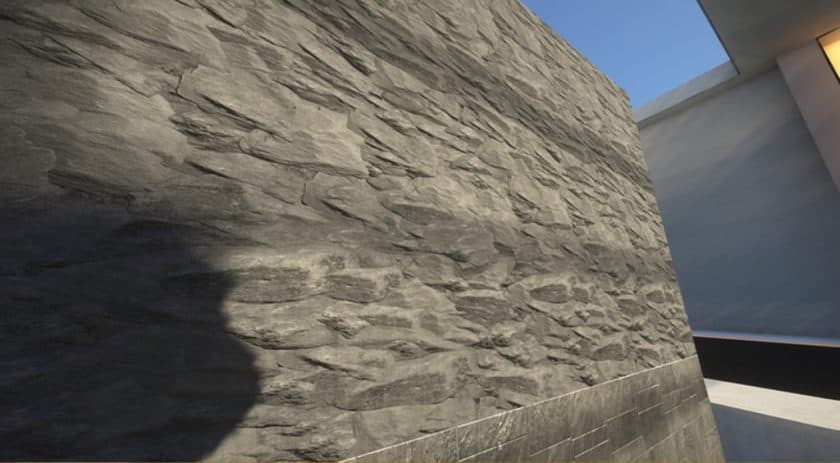
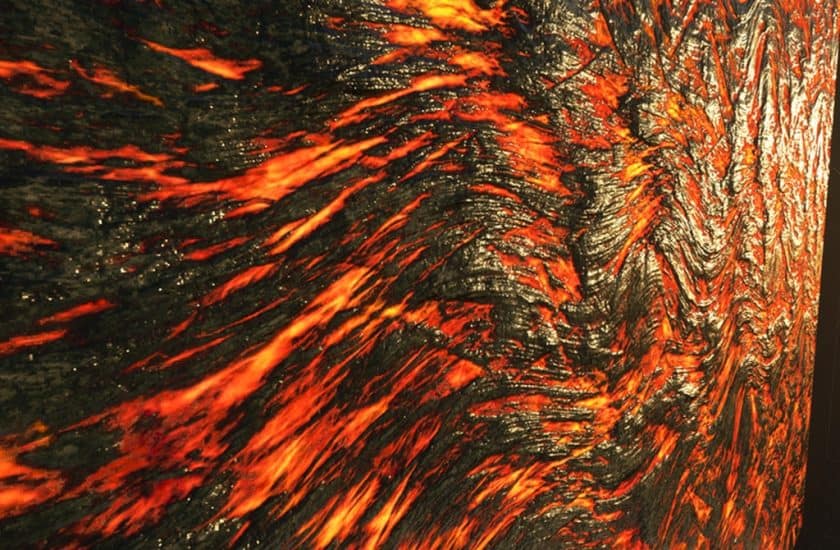
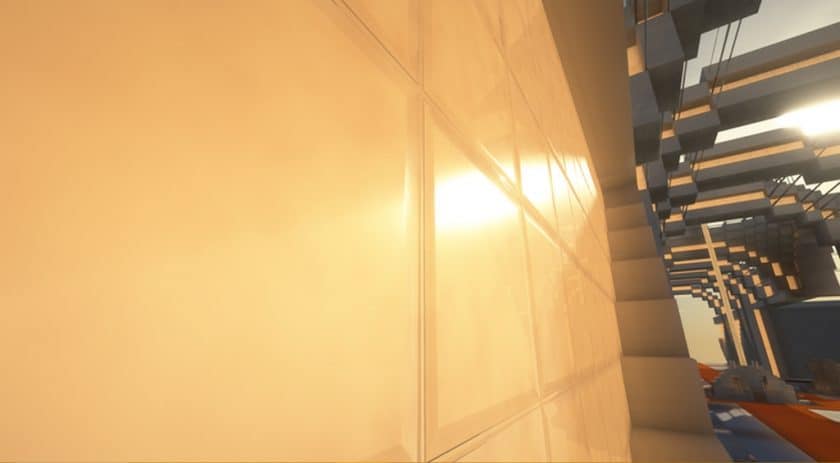
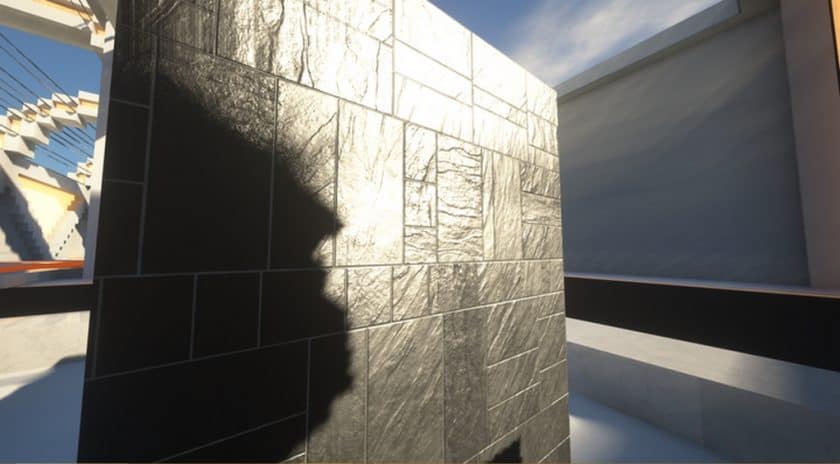
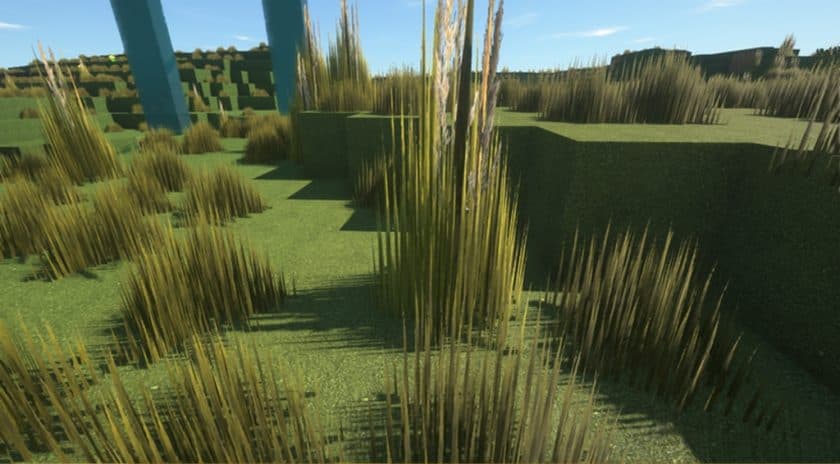
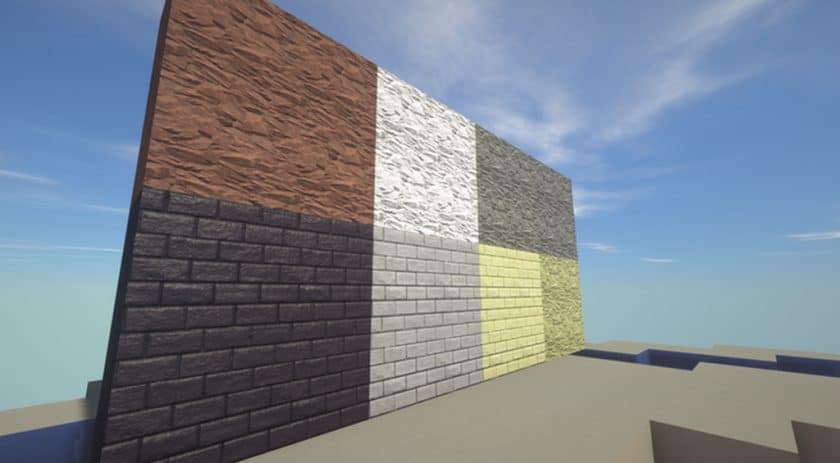
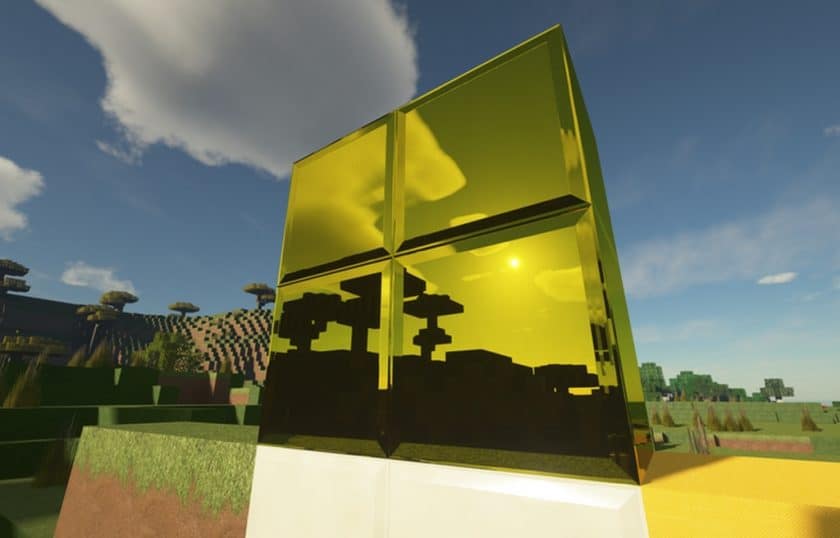
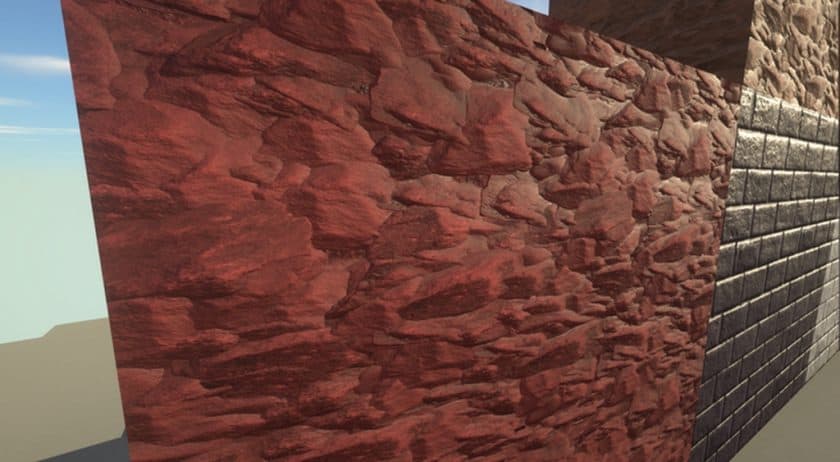
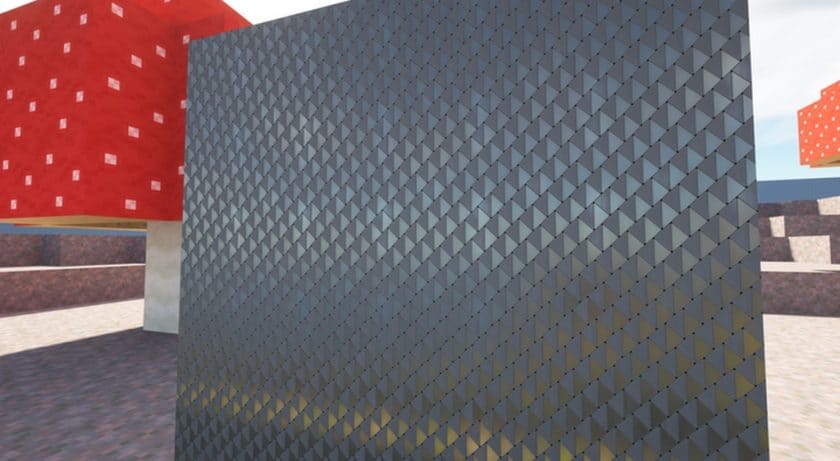
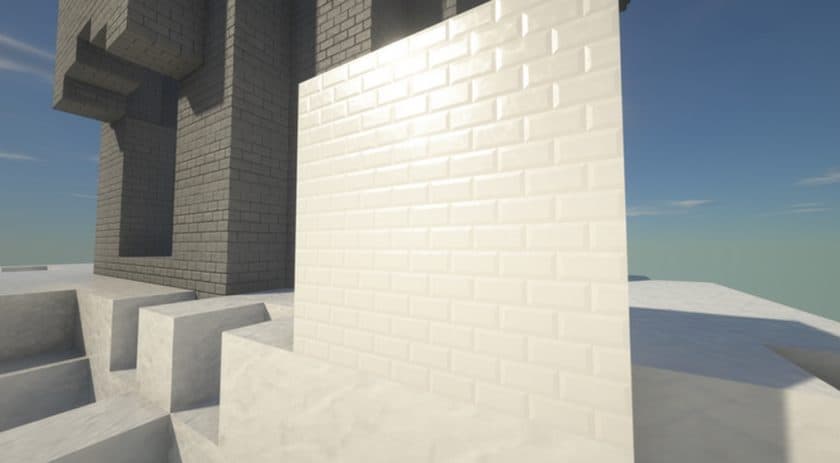
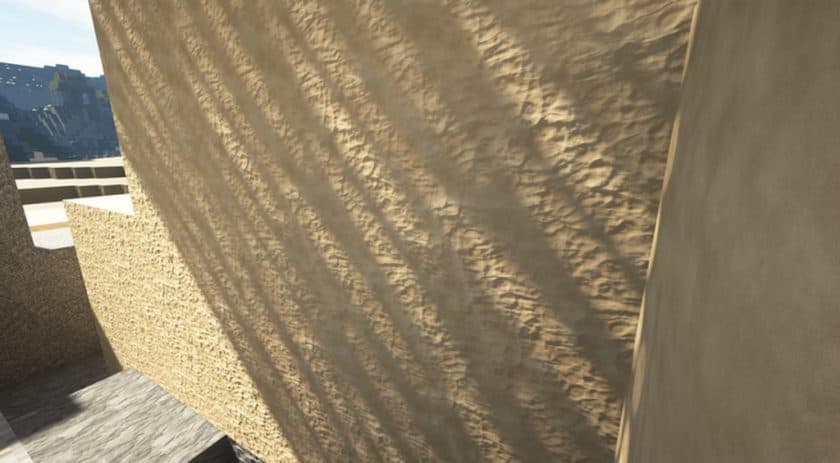
Meteor (LMX) – Screenshots


How to Install Texture Pack (Simple 10 Steps)
- Download Optifine: Most of the texture packs and shaders need Optifine. That’s why, first download and install Optifine for the version of Minecraft you want to play.
- Download the Texture Pack: Get the texture pack you want from the download section. Choose the version that works with your Minecraft and your PC’s performance.
- Open Minecraft Launcher: Start Minecraft using the official game launcher – or even TLauncher, if you use that.
- Go to Options: From the main menu, click on the “Options” button.
- Open Resource Packs: Inside Options, click on “Resource Packs…”.
- Open the Resource Pack Folder: Click on “Open Resource Pack Folder” – this will open a folder named “resourcepacks”.
- Move the Pack File: Copy or move the .zip file you downloaded into that “resourcepacks” folder. (Don’t unzip the file – Minecraft uses it as-is!)
- Go Back and Refresh: Close the folder and click “Done”, then go back into “Resource Packs…” again.
- Activate the Pack: You’ll see the pack on the left side. Hover over it and click the arrow to move it to the right (active side). Tip: If you get a message that the pack is for a different version, just click “Yes” – it usually works fine.
- Click Done and Enjoy: Click “Done” again. Now your pack is ready to use in-game. It’s that easy!
Download
The Java Edition of this package requires Optifine to work and will not work without it! Get optifine here.
Java Edition:
(256x) (1.20.x – 1.14.x) Download Meteor Resource Pack – completely free;
(1024x) (1.20.x – 1.14.x) Download Meteor Resource Pack – only for Patrons;
(2048x) (1.20.x – 1.14.x) Download Meteor Resource Pack – only for Patrons;
Download Instructions
-
CurseForge: If the pack is hosted on CurseForge, the download will begin automatically after a few seconds. If it does not start, use the “Download” button shown on the page.
-
Modrinth: If the download is from Modrinth, click the file version that matches your Minecraft build, then press the Download button. Modrinth usually offers multiple releases, so make sure you pick the correct version before installing.
-
Mediafire: On Mediafire, click the large blue Download button to start the file download. Avoid any extra pop-ups or buttons that are not related to the direct download.
-
Google Drive: For Google Drive, click the small download icon at the top right corner of the page. It looks like a downward arrow. The file will be saved to your computer immediately.
Disclaimer We do not create or modify any of the texture packs or shader packs shared on this website. All credit goes to the original creators, and every download link we provide is the official link from their page, which keeps all downloads safe. Some links may stop working after updates, so if you find a broken one, let us know in the comments and we will update it quickly. If you like a pack, consider supporting the creator by visiting their official page or website that we have linked below, and feel free to leave a comment or vote to help their work reach more players.