Stepping into a world enhanced by the Defined Realism resource pack is like rediscovering vanilla Minecraft through a freshly polished lens. From the moment you load it, the difference is striking: the familiar blocky landscapes take on a newfound crispness, shedding the subtle visual noise often present in default textures. It’s a feeling of immediate clarity, as if a thin veil has been lifted from the game world, allowing every detail to shine with greater prominence. This pack doesn’t aim to overhaul Minecraft into something unrecognizable, but rather to elevate its inherent beauty by meticulously refining its core visuals.
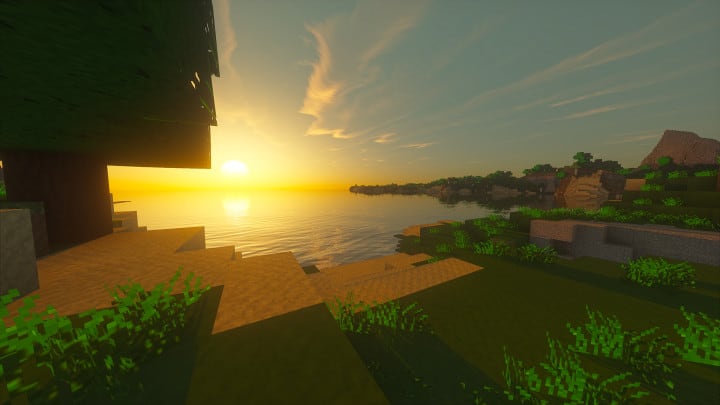
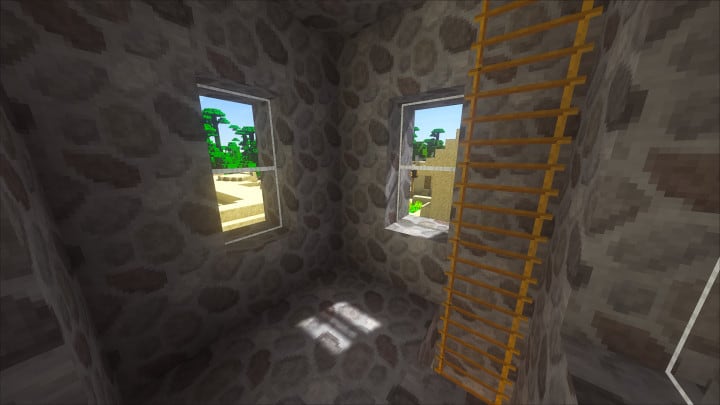
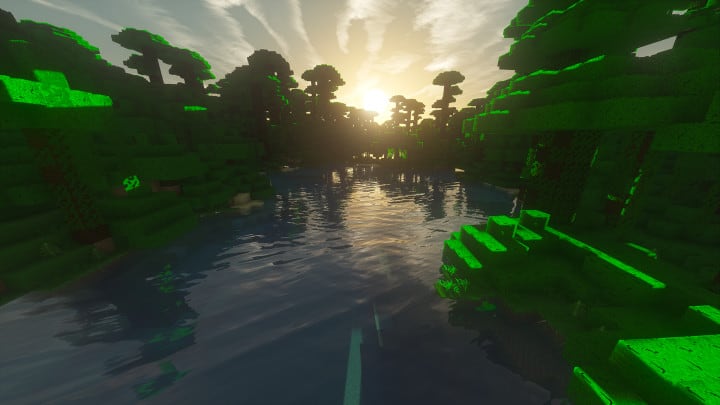
The strength of Defined Realism lies in its commitment to a smooth, realistic aesthetic. Exploring diverse biomes, from dense forests to sprawling deserts, feels more immersive, with trees and foliage displaying richer textures and stone formations gaining a more defined, tangible feel. The developers have masterfully focused on removing the pixelated ‘grain’ from textures, achieving a level of sharpness and smoothness that is genuinely impressive. This isn’t just about higher resolution; it’s about a thoughtful reinterpretation of Minecraft’s visual language, resulting in an environment that feels more cohesive and natural.
Despite upgrading the resolution to 32×32, a step up from the standard 16×16, the pack maintains remarkable fluidity. Players can expect a significantly more detailed experience without the typical performance anxiety often associated with higher-resolution packs. This optimization means you can dive into a more realistic and visually appealing Minecraft without compromising your gameplay. Whether you’re building intricate structures, delving into dark caves, or simply enjoying a sunset over your latest creation, Defined Realism subtly enhances every moment, offering a consistently engaging and aesthetically pleasing journey through your Minecraft worlds. It truly transforms the familiar into an experience that feels both fresh and deeply satisfying.
| Minecraft Version | Compatibility |
|---|---|
| 1.12.2 | ✅ Supported |
| 1.12 | ✅ Supported |
| 1.11.2 | ✅ Supported |
| 1.11 | ✅ Supported |
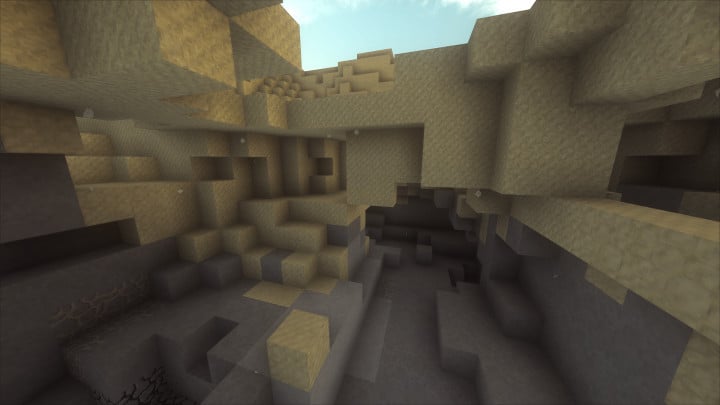
Defined Realism – Screenshots & Videos
How to Install Texture Pack (Simple 10 Steps)
- Download Optifine: Most of the texture packs and shaders need Optifine. That’s why, first download and install Optifine for the version of Minecraft you want to play.
- Download the Texture Pack: Get the texture pack you want from the download section. Choose the version that works with your Minecraft and your PC’s performance.
- Open Minecraft Launcher: Start Minecraft using the official game launcher – or even TLauncher, if you use that.
- Go to Options: From the main menu, click on the “Options” button.
- Open Resource Packs: Inside Options, click on “Resource Packs…”.
- Open the Resource Pack Folder: Click on “Open Resource Pack Folder” – this will open a folder named “resourcepacks”.
- Move the Pack File: Copy or move the .zip file you downloaded into that “resourcepacks” folder. (Don’t unzip the file – Minecraft uses it as-is!)
- Go Back and Refresh: Close the folder and click “Done”, then go back into “Resource Packs…” again.
- Activate the Pack: You’ll see the pack on the left side. Hover over it and click the arrow to move it to the right (active side). Tip: If you get a message that the pack is for a different version, just click “Yes” – it usually works fine.
- Click Done and Enjoy: Click “Done” again. Now your pack is ready to use in-game. It’s that easy!
Download
(32x) (1.12 – 1.11) Download the Defined Realism Resource Pack
Download Instructions
-
CurseForge: If the pack is hosted on CurseForge, the download will begin automatically after a few seconds. If it does not start, use the “Download” button shown on the page.
-
Modrinth: If the download is from Modrinth, click the file version that matches your Minecraft build, then press the Download button. Modrinth usually offers multiple releases, so make sure you pick the correct version before installing.
-
Mediafire: On Mediafire, click the large blue Download button to start the file download. Avoid any extra pop-ups or buttons that are not related to the direct download.
-
Google Drive: For Google Drive, click the small download icon at the top right corner of the page. It looks like a downward arrow. The file will be saved to your computer immediately.
Disclaimer We do not create or modify any of the texture packs or shader packs shared on this website. All credit goes to the original creators, and every download link we provide is the official link from their page, which keeps all downloads safe. Some links may stop working after updates, so if you find a broken one, let us know in the comments and we will update it quickly. If you like a pack, consider supporting the creator by visiting their official page or website that we have linked below, and feel free to leave a comment or vote to help their work reach more players.