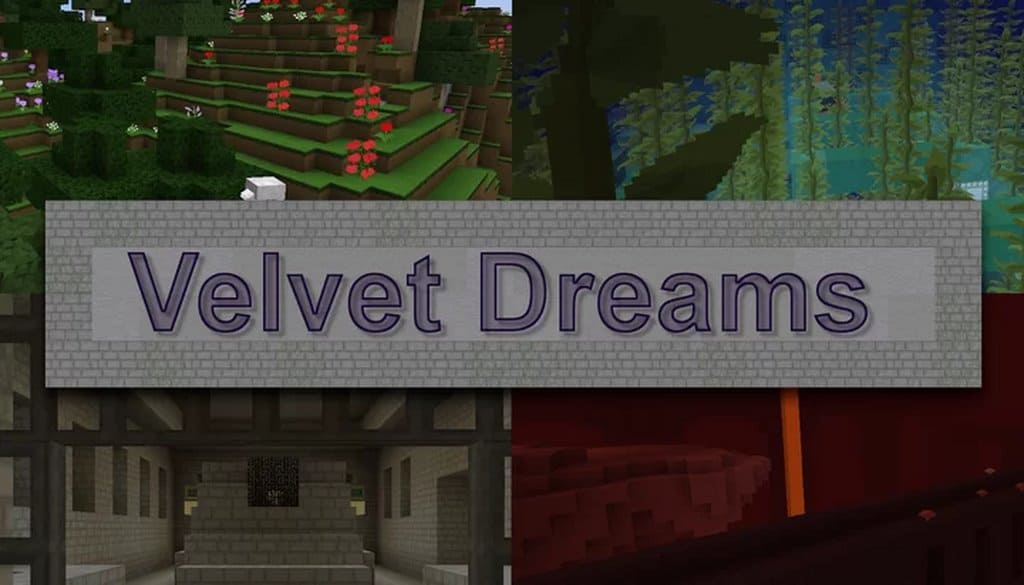
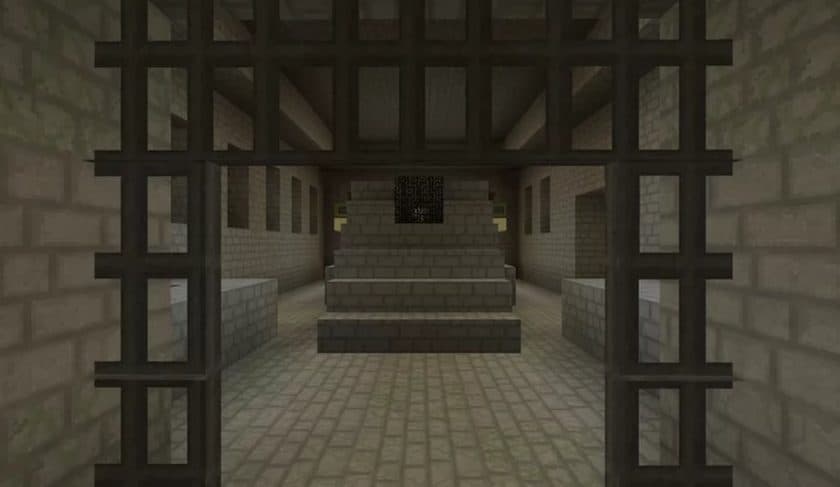
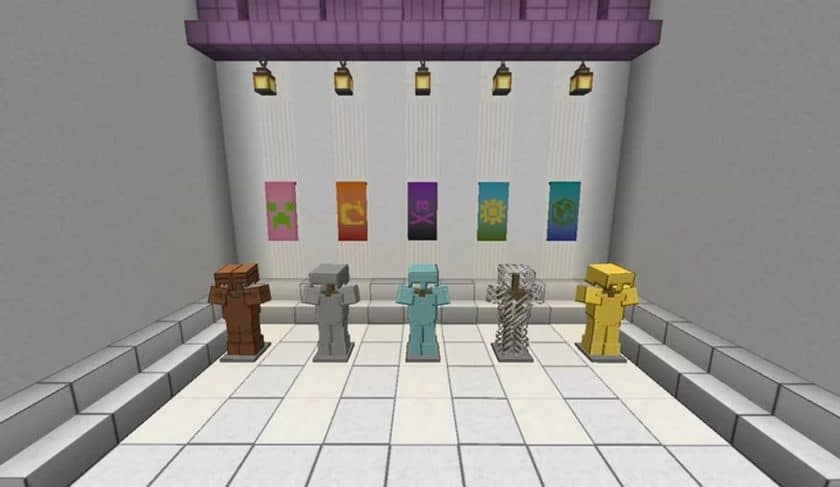
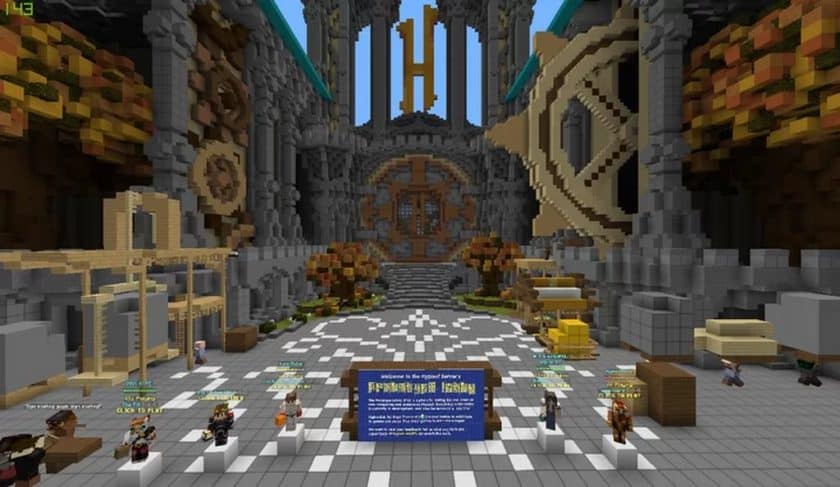
Stepping into a world powered by the Velvet Dreams Resource Pack immediately reveals a vision of Minecraft where simplicity truly enhances the experience. This pack isn’t about radically transforming the game into something unrecognizable; instead, it focuses on refining and elevating the existing aesthetic with an impressive commitment to graphical clarity and a delightful smoothness across all textures. From the moment you load in, blocks and environments feel noticeably sharper and more defined, yet entirely consistent with the familiar Minecraft vibe we all cherish. Many players, myself included, often find highly stylized or overly bright resource packs jarring, but Velvet Dreams masterfully integrates vibrant colors into the landscape in a way that feels natural and appealing, rather than overwhelming. It’s a testament to the pack’s design philosophy that it manages to feel fresh and modern while deeply respecting the game’s original artistic direction.
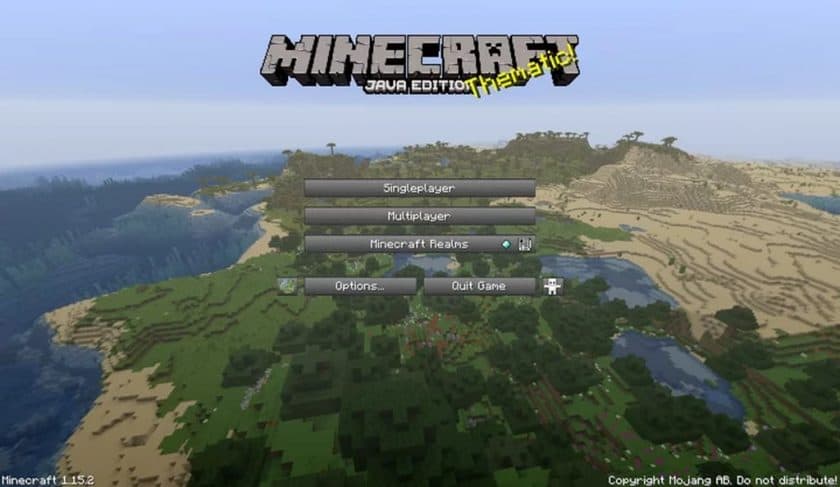
The technical achievement of Velvet Dreams, operating at a crisp x64 resolution, is particularly noteworthy. Typically, packs at this resolution can demand a fair bit from your system, often leading to noticeable lag on average setups. However, during my exploration, Velvet Dreams performed surprisingly well on what I’d consider a mainstream PC, offering a fluid and lag-free experience. This exceptional performance, coupled with the enhanced resolution, stems from a smart design choice: textures are meticulously detailed without ever feeling overly busy or unnecessarily complex. Each block, item, and environmental element has been carefully crafted to add depth and visual appeal, preventing that “empty” feeling some detailed packs inadvertently create. Furthermore, the pack introduces a subtly revamped user interface. While individual preferences might vary (for instance, the new potion icons were a slight departure for me), the overall UI enhancements contribute significantly to the pack’s clean and polished presentation, making navigation and interaction feel much more modern. Velvet Dreams ultimately delivers a beautifully balanced visual upgrade – it’s clean, doesn’t unnecessarily strain your system, and remarkably, makes vibrant colors a genuine pleasure to behold within the Minecraft world.
| Minecraft Version | Compatibility |
|---|---|
| 1.19.2 | ✅ Supported |
| 1.19.1 | ✅ Supported |
| 1.19 | ✅ Supported |
| 1.18.2 | ✅ Supported |
| 1.18.1 | ✅ Supported |
| 1.18 | ✅ Supported |
| 1.17.1 | ✅ Supported |
| 1.17 | ✅ Supported |
| 1.16.5 | ✅ Supported |
| 1.16.4 | ✅ Supported |
| 1.16.3 | ✅ Supported |
| 1.16.2 | ✅ Supported |
| 1.16.1 | ✅ Supported |
| 1.16 | ✅ Supported |
| 1.15.2 | ✅ Supported |
| 1.15.1 | ✅ Supported |
| 1.15 | ✅ Supported |
| 1.14.4 | ✅ Supported |
| 1.14.3 | ✅ Supported |
| 1.14.2 | ✅ Supported |
| 1.14 | ✅ Supported |
| 1.13.2 | ✅ Supported |
| 1.13.1 | ✅ Supported |
| 1.13 | ✅ Supported |
| 1.12.2 | ✅ Supported |
| 1.12 | ✅ Supported |
| 1.11.2 | ✅ Supported |
| 1.11 | ✅ Supported |
| 1.10.2 | ✅ Supported |
| 1.10 | ✅ Supported |
| 1.9.4 | ✅ Supported |
| 1.9 | ✅ Supported |
| 1.8.9 | ✅ Supported |
| 1.8.8 | ✅ Supported |
| 1.8.1 | ✅ Supported |
| 1.8.6 | ✅ Supported |
| 1.8 | ✅ Supported |
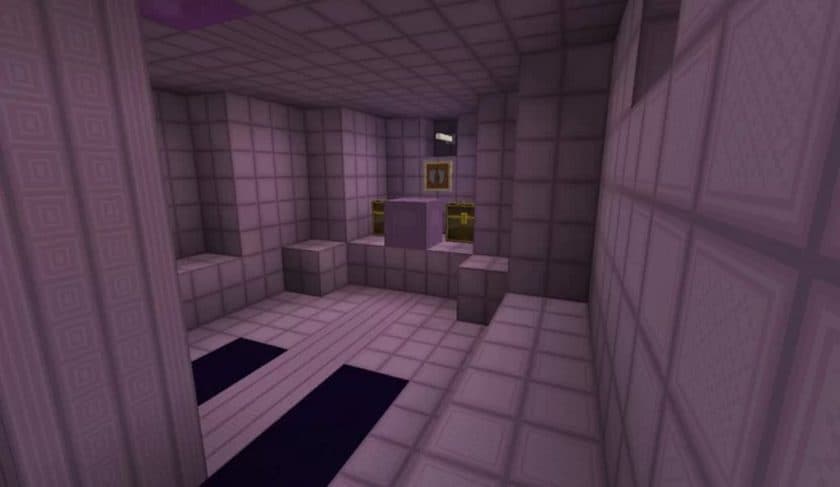
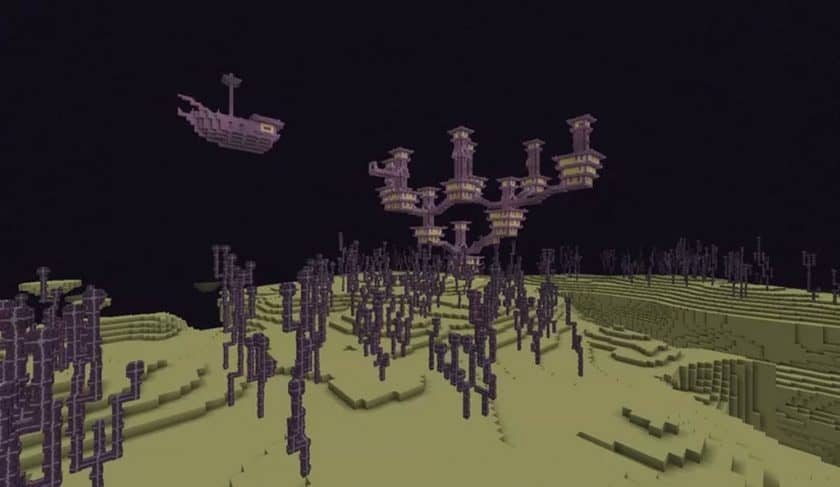
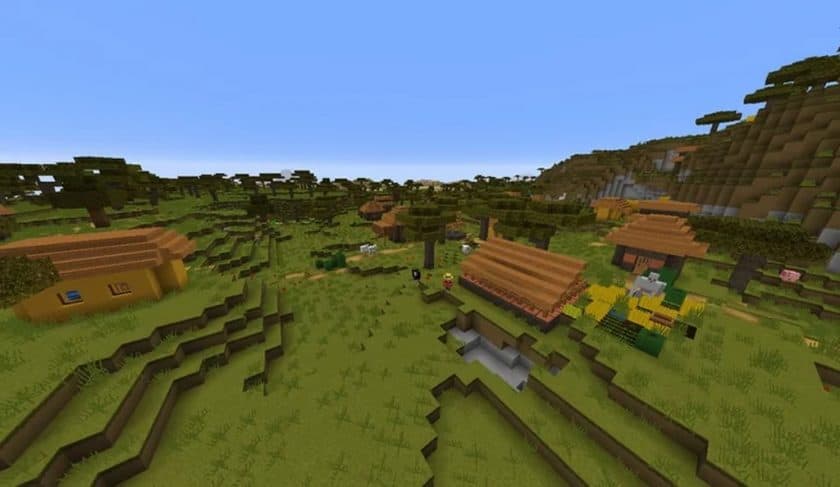
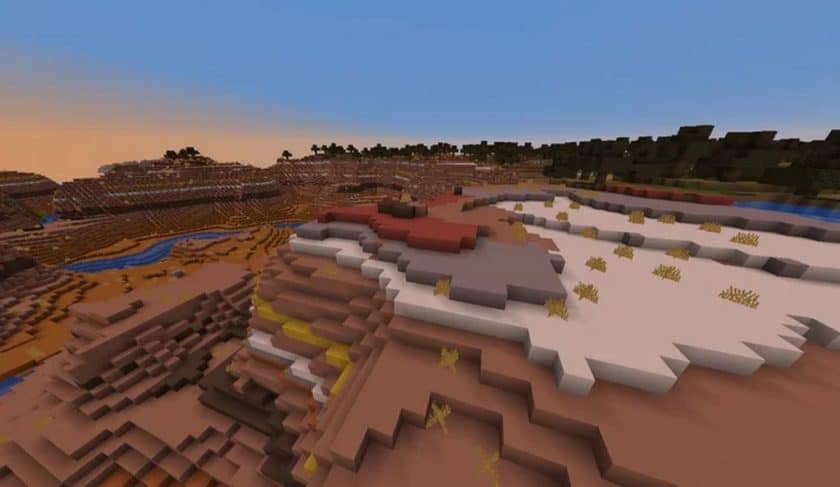
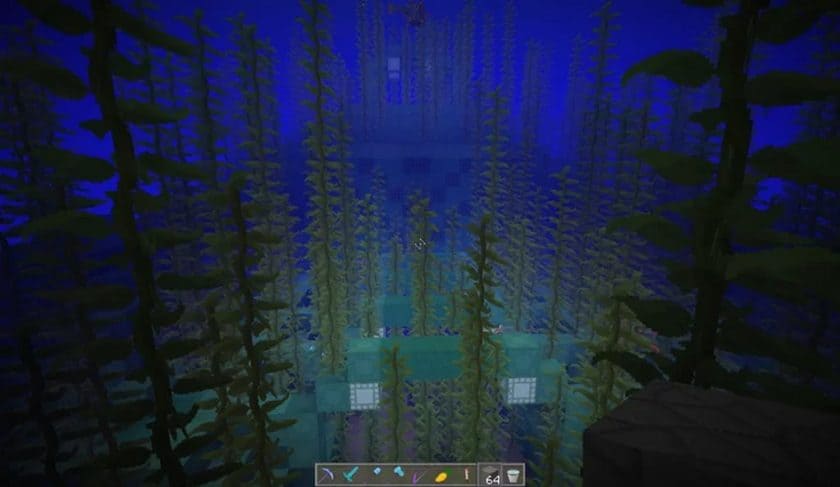
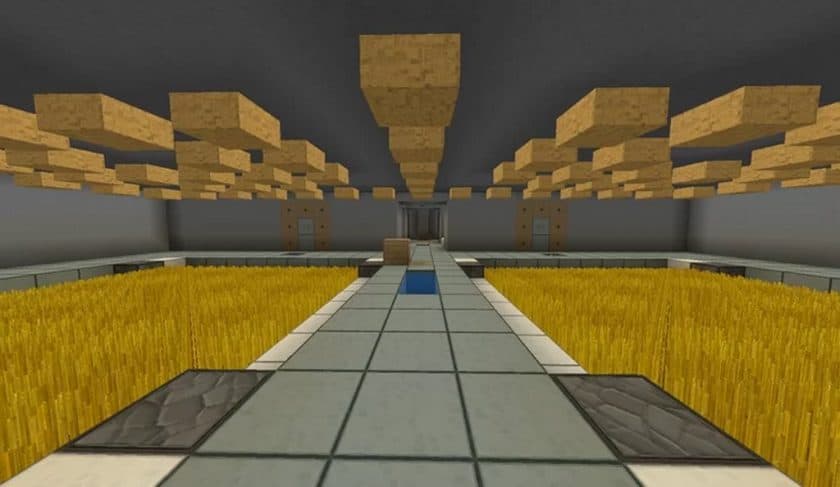
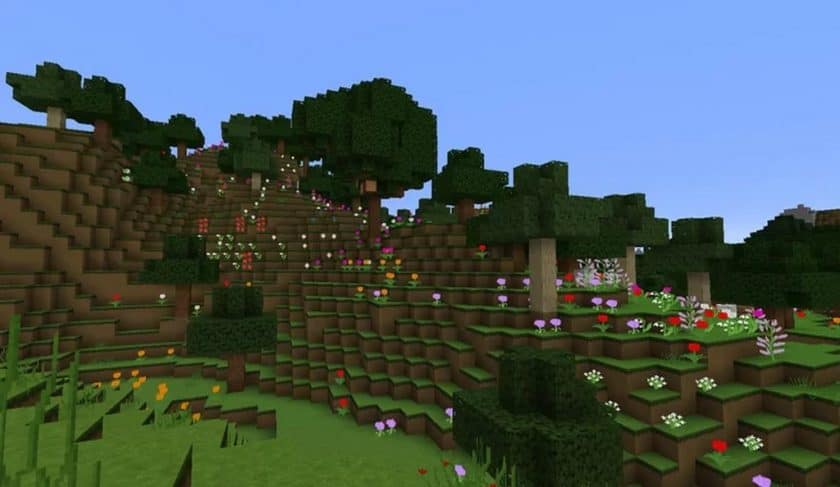
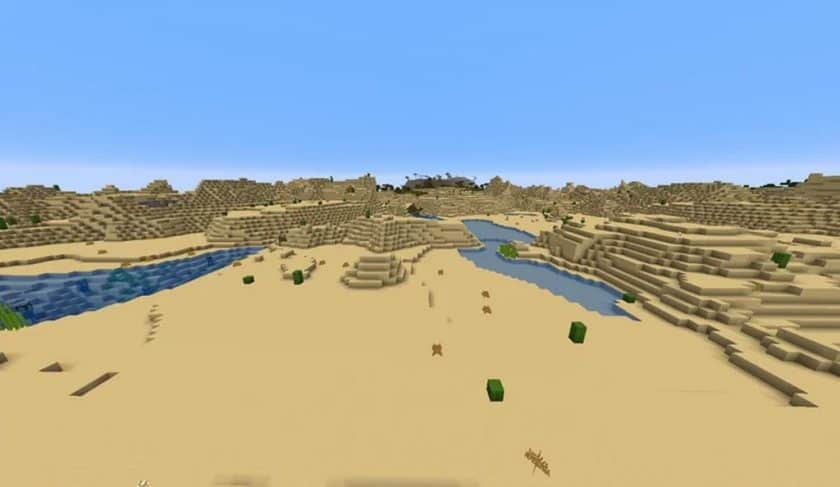
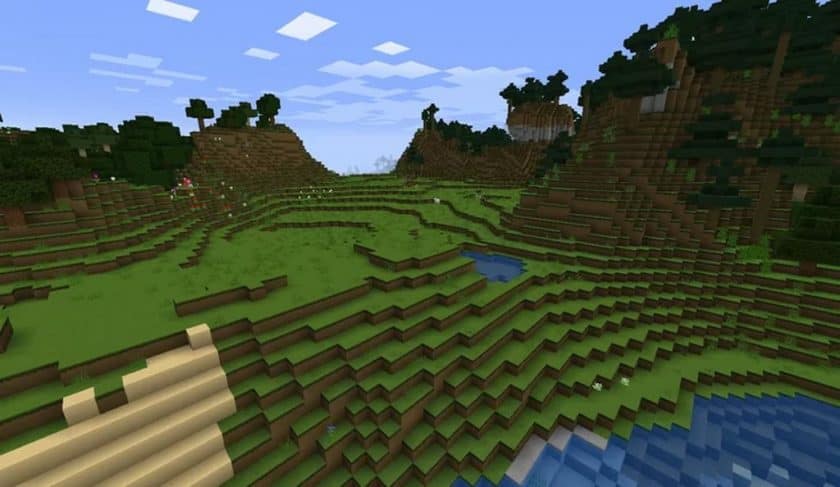
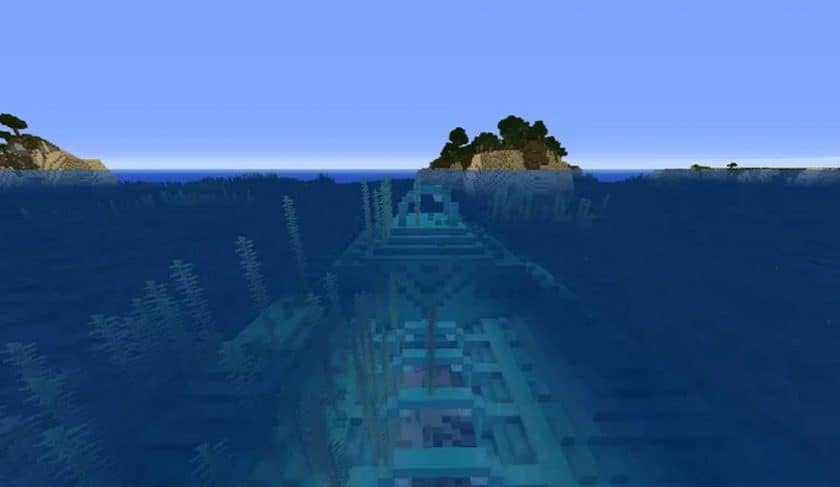
Velvet Dreams Resource Pack – Screenshots
How to Install Texture Pack (Simple 10 Steps)
- Download Optifine: Most of the texture packs and shaders need Optifine. That’s why, first download and install Optifine for the version of Minecraft you want to play.
- Download the Texture Pack: Get the texture pack you want from the download section. Choose the version that works with your Minecraft and your PC’s performance.
- Open Minecraft Launcher: Start Minecraft using the official game launcher – or even TLauncher, if you use that.
- Go to Options: From the main menu, click on the “Options” button.
- Open Resource Packs: Inside Options, click on “Resource Packs…”.
- Open the Resource Pack Folder: Click on “Open Resource Pack Folder” – this will open a folder named “resourcepacks”.
- Move the Pack File: Copy or move the .zip file you downloaded into that “resourcepacks” folder. (Don’t unzip the file – Minecraft uses it as-is!)
- Go Back and Refresh: Close the folder and click “Done”, then go back into “Resource Packs…” again.
- Activate the Pack: You’ll see the pack on the left side. Hover over it and click the arrow to move it to the right (active side). Tip: If you get a message that the pack is for a different version, just click “Yes” – it usually works fine.
- Click Done and Enjoy: Click “Done” again. Now your pack is ready to use in-game. It’s that easy!
Download
Java Edition:
(64x) (1.19.x) Download Velvet Dreams Resource Pack
(64x) (1.18.x – 1.17.x) Download Velvet Dreams Resource Pack
Download Instructions
-
CurseForge: If the pack is hosted on CurseForge, the download will begin automatically after a few seconds. If it does not start, use the “Download” button shown on the page.
-
Modrinth: If the download is from Modrinth, click the file version that matches your Minecraft build, then press the Download button. Modrinth usually offers multiple releases, so make sure you pick the correct version before installing.
-
Mediafire: On Mediafire, click the large blue Download button to start the file download. Avoid any extra pop-ups or buttons that are not related to the direct download.
-
Google Drive: For Google Drive, click the small download icon at the top right corner of the page. It looks like a downward arrow. The file will be saved to your computer immediately.
Disclaimer We do not create or modify any of the texture packs or shader packs shared on this website. All credit goes to the original creators, and every download link we provide is the official link from their page, which keeps all downloads safe. Some links may stop working after updates, so if you find a broken one, let us know in the comments and we will update it quickly. If you like a pack, consider supporting the creator by visiting their official page or website that we have linked below, and feel free to leave a comment or vote to help their work reach more players.