
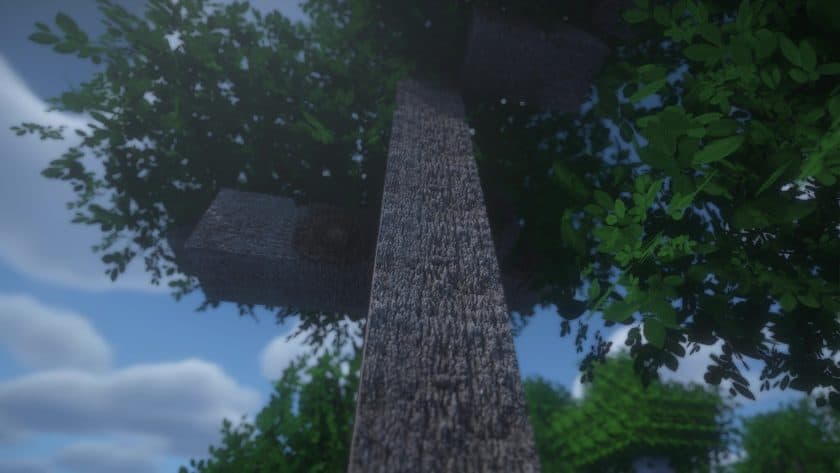
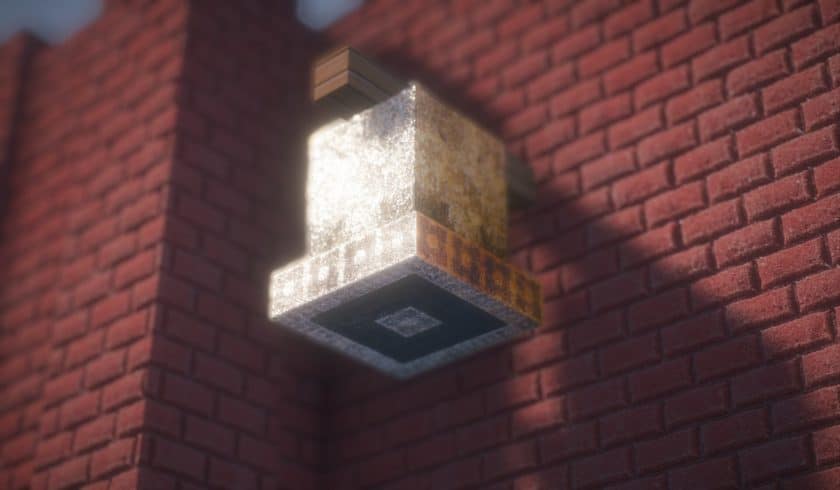
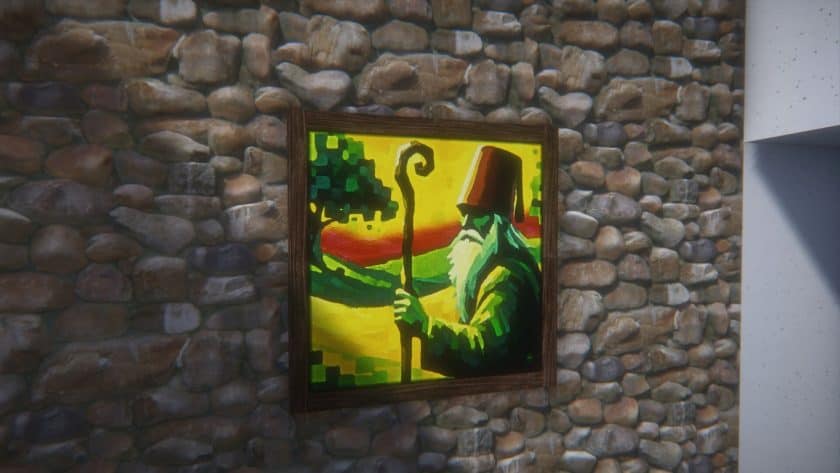
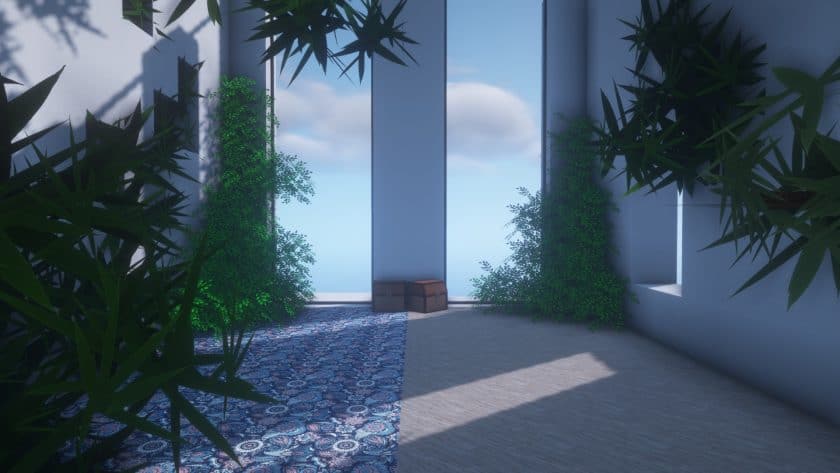
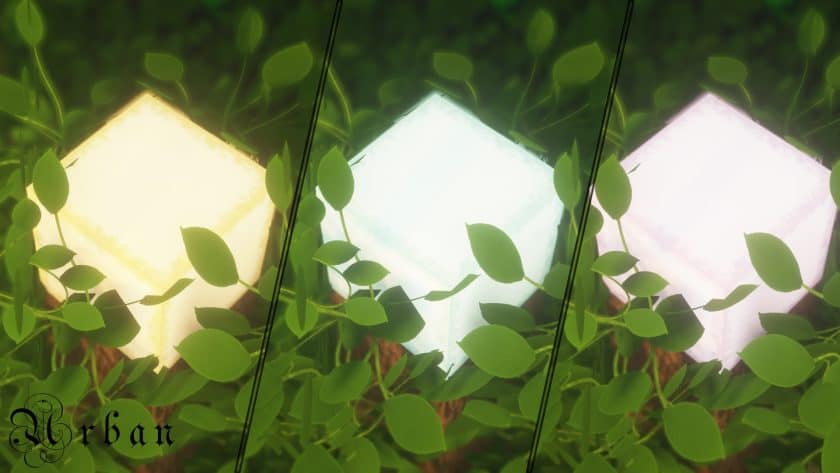
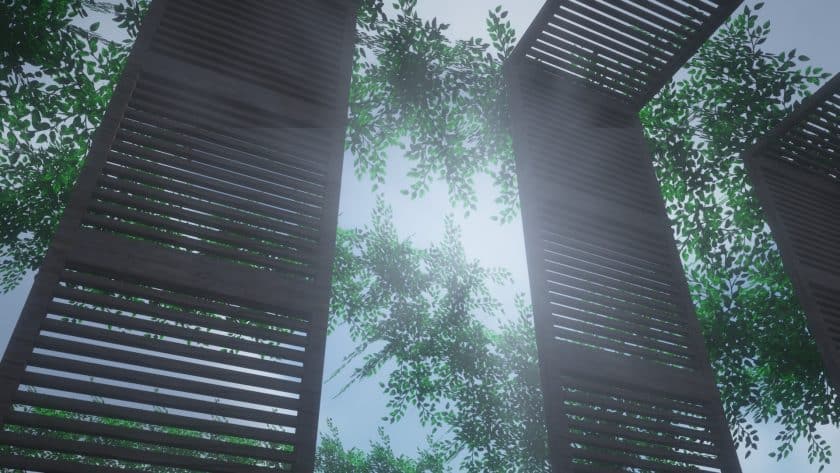
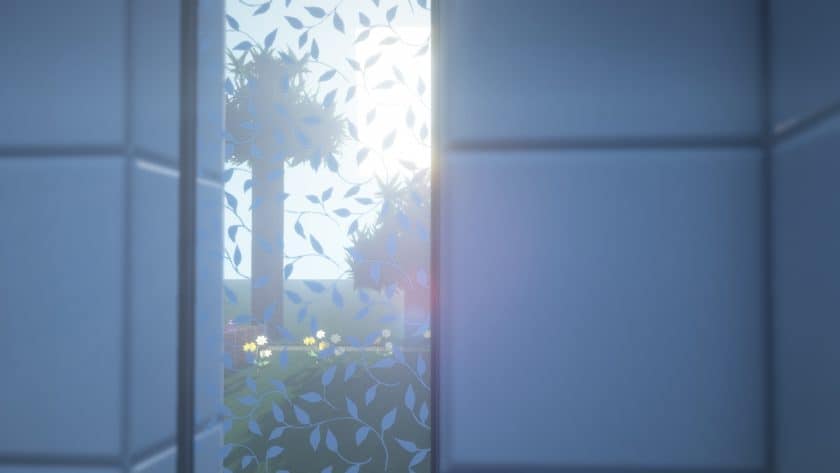
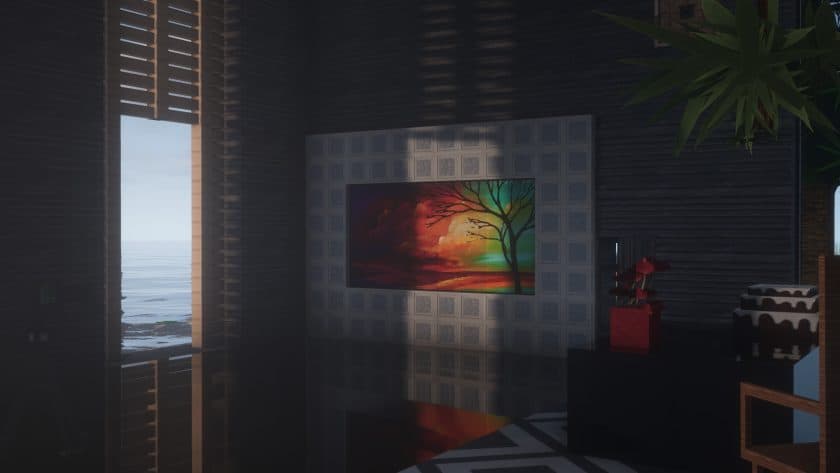
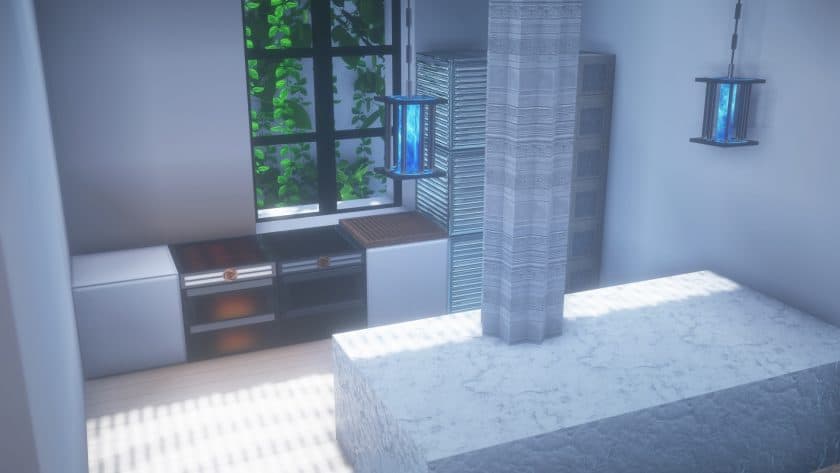
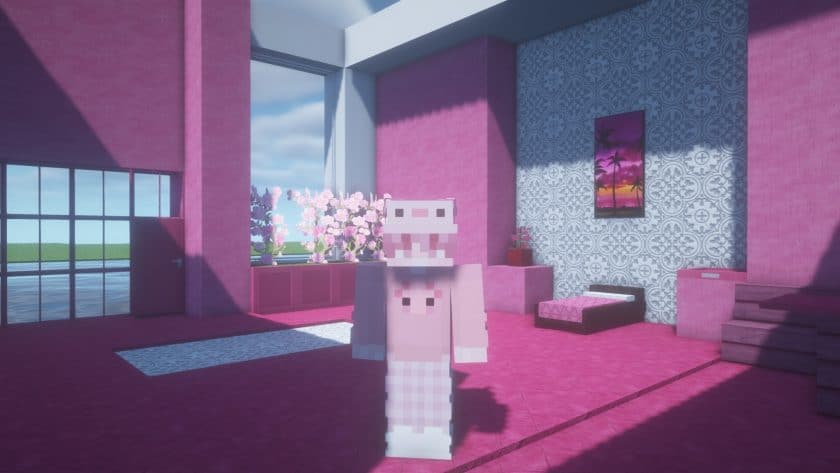
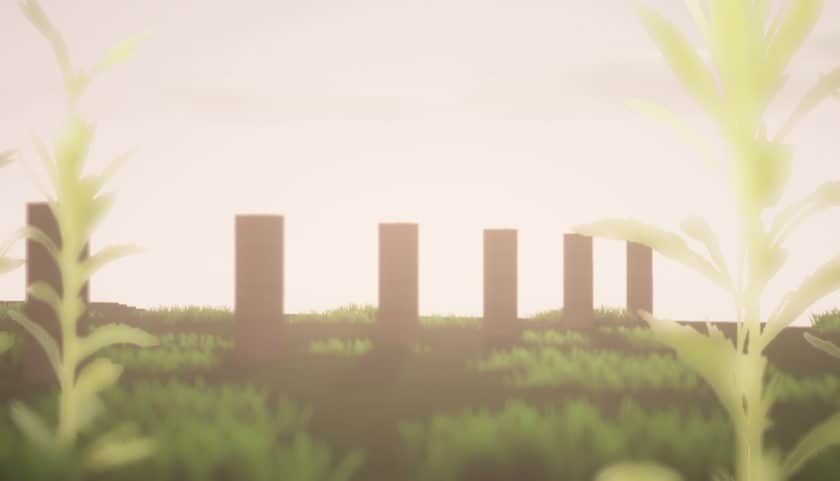
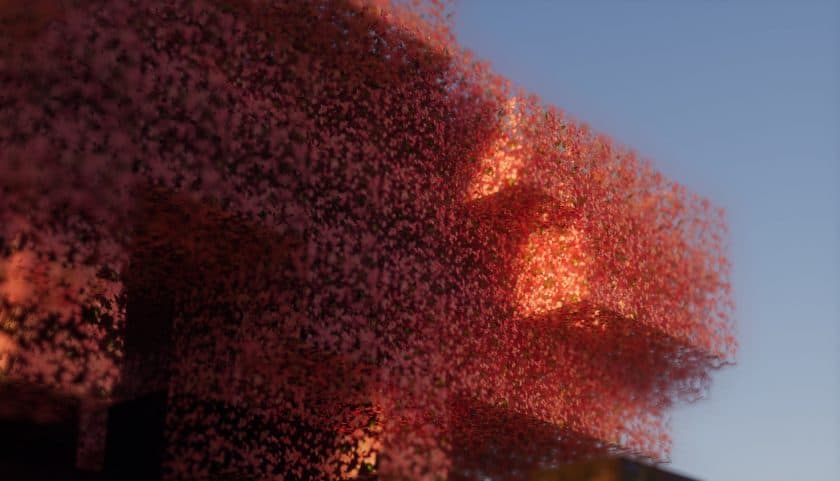
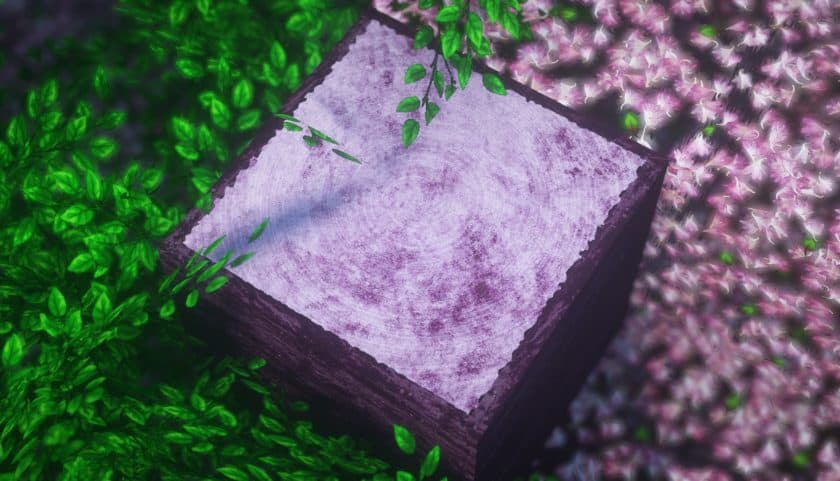
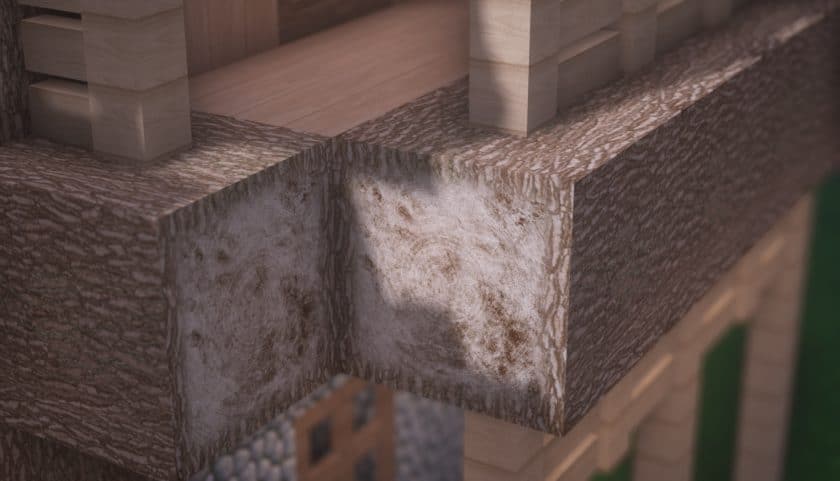
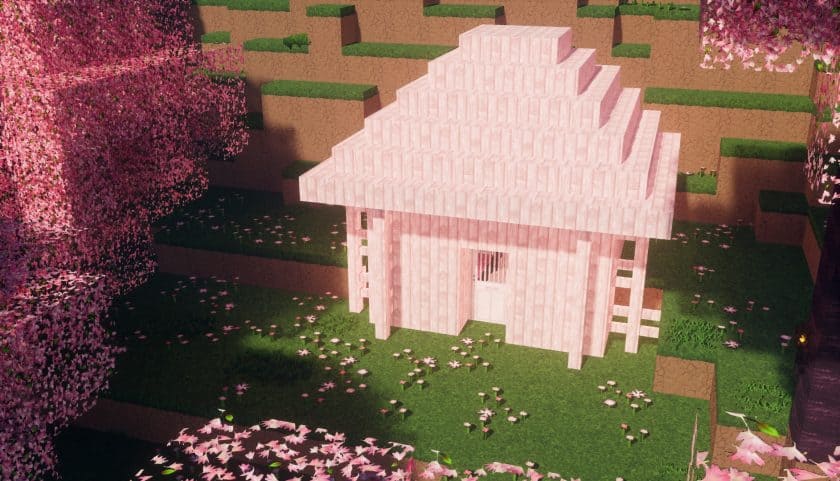
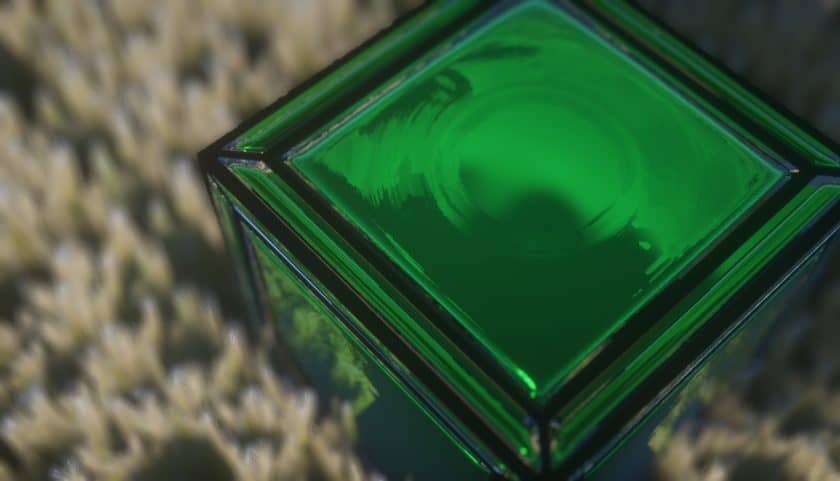
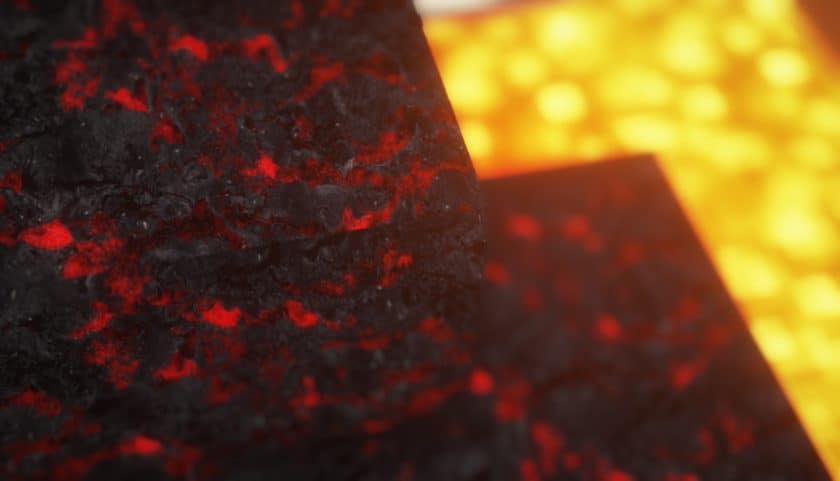
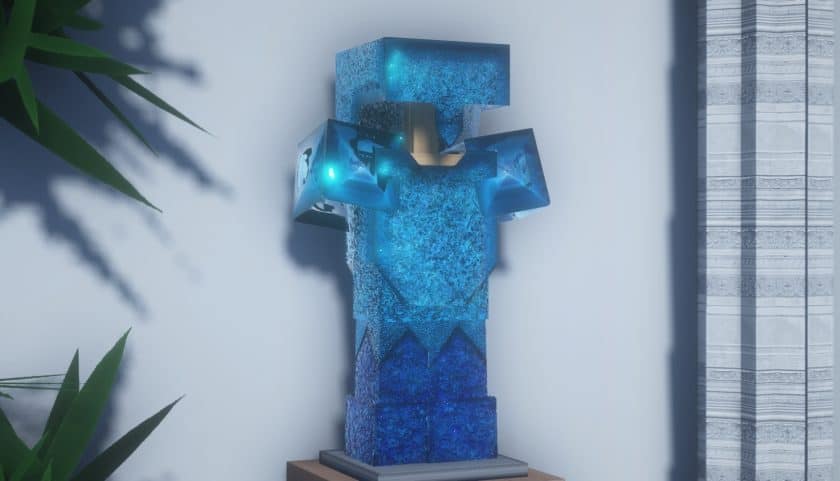
The URBAN resource pack stands out as a truly ambitious project, meticulously crafted by Aryan Nikos to completely reimagine the Minecraft experience. This isn’t just another texture overhaul; it’s a deep dive into transforming the game’s entire aesthetic and atmosphere, aiming to captivate even the most seasoned players. From the moment you step into a world powered by URBAN, you’ll notice an unparalleled level of visual fidelity. The pack’s creator has pushed the boundaries of what’s possible within Minecraft, particularly by leveraging advanced path-tracing shaders like the popular BSL package. This integration allows URBAN to transcend Minecraft’s inherently blocky nature, rendering scenes with an astonishing degree of photorealism. Everything from distant landscapes to individual items feels incredibly natural and distinct, moving far beyond the simplistic look of vanilla Minecraft.
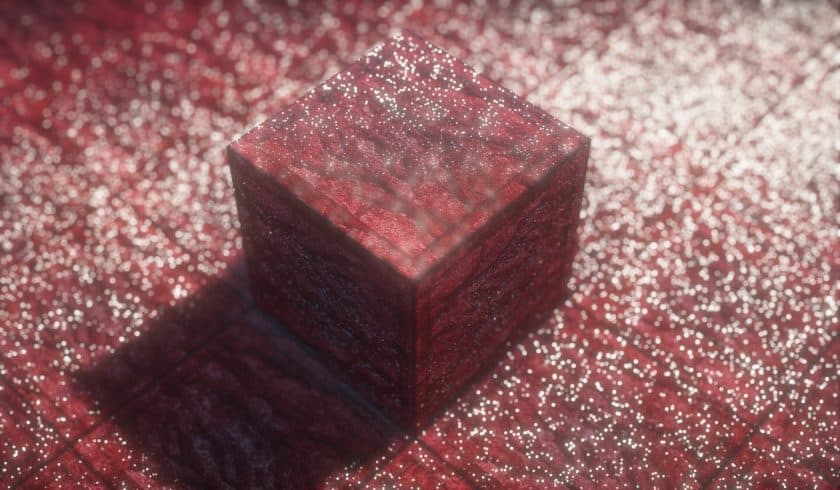
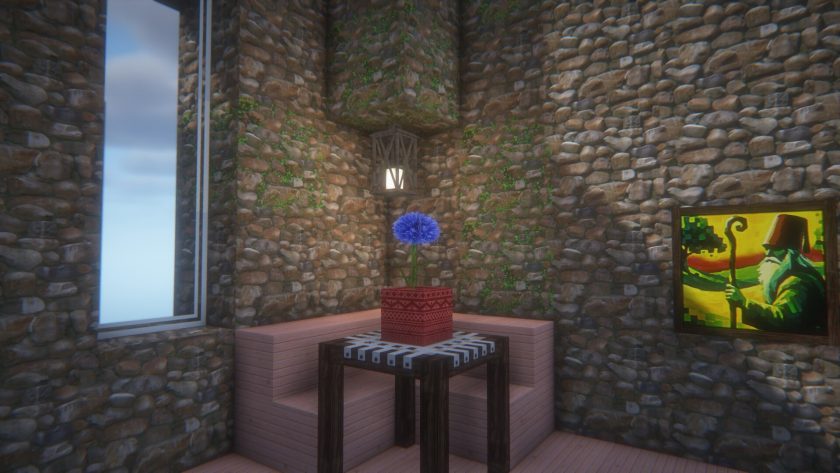
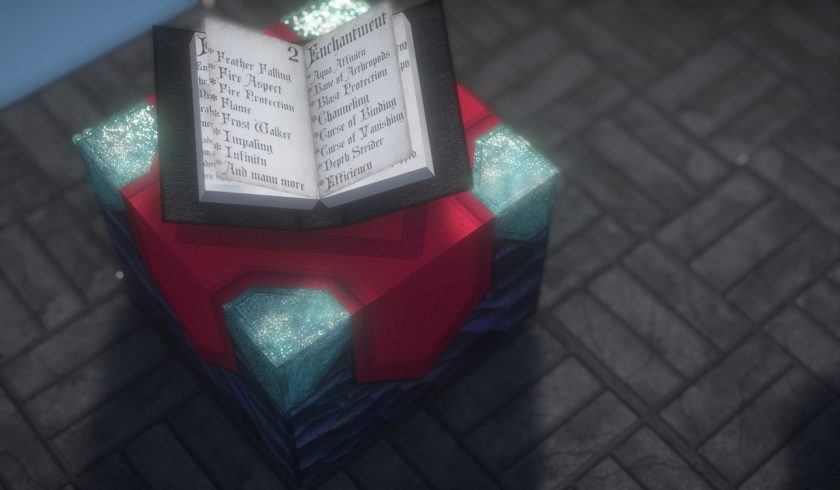
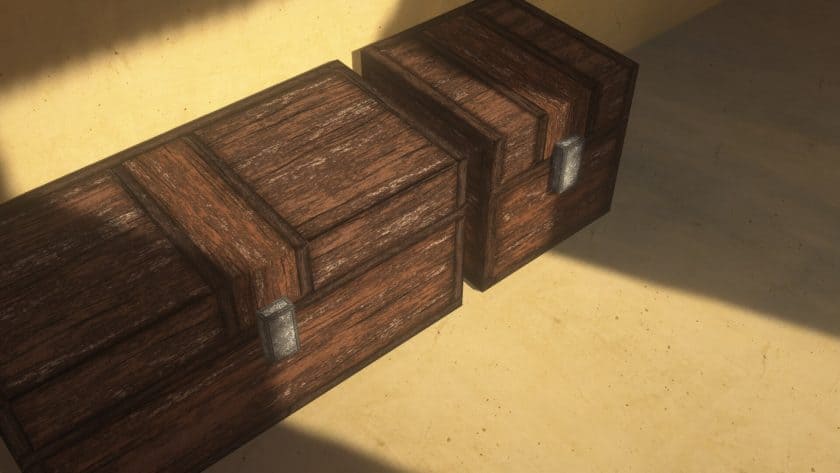
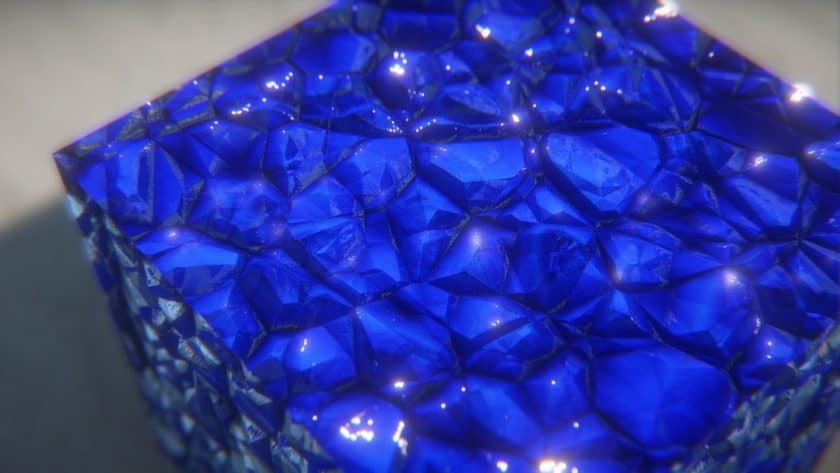
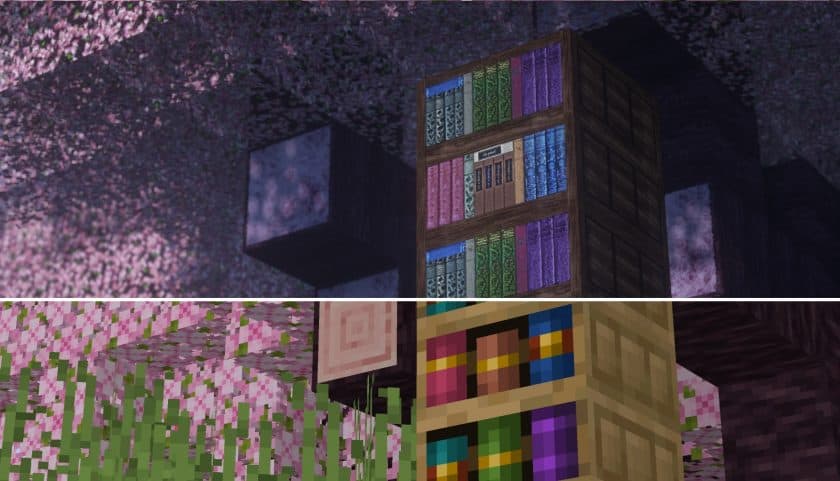
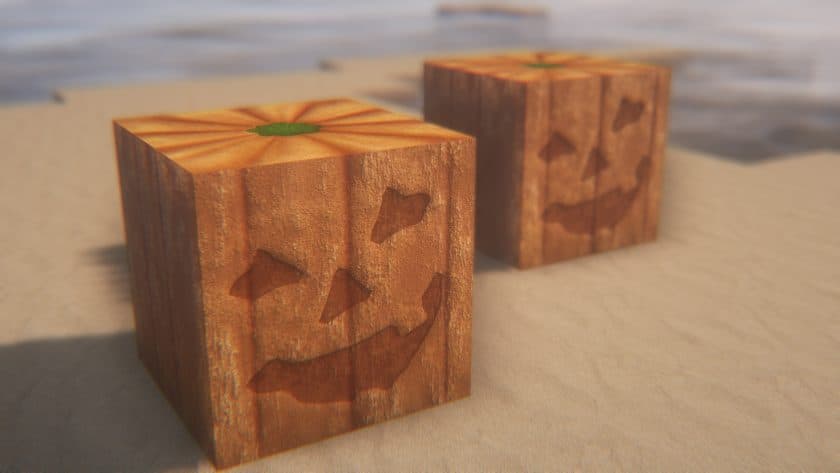
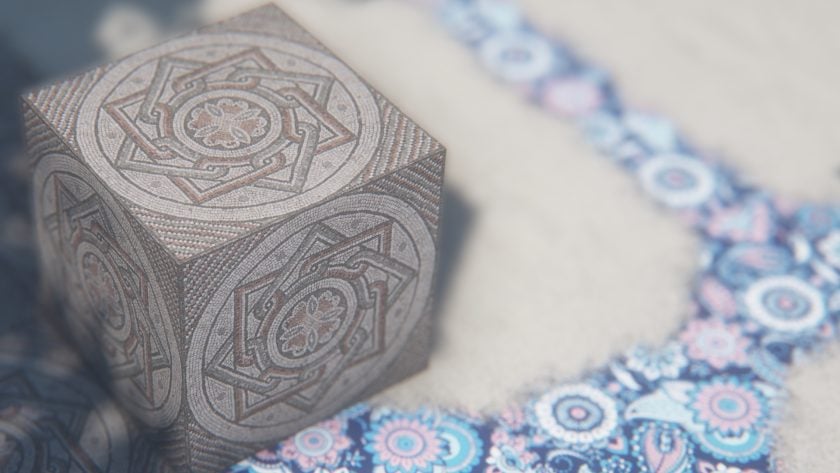
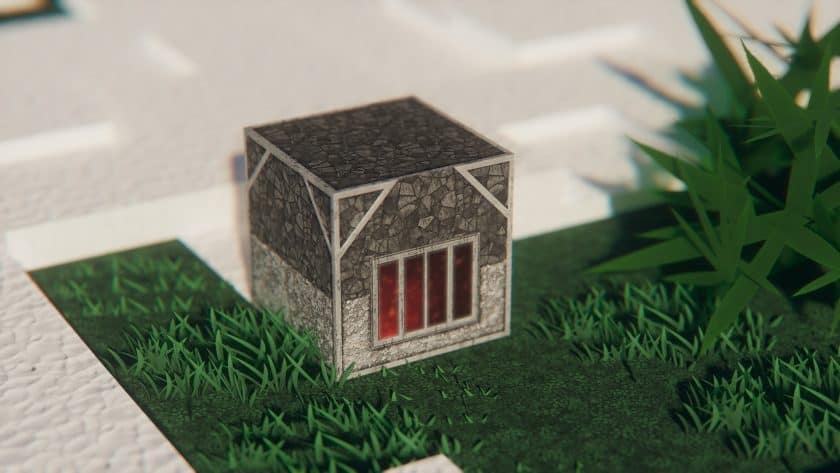
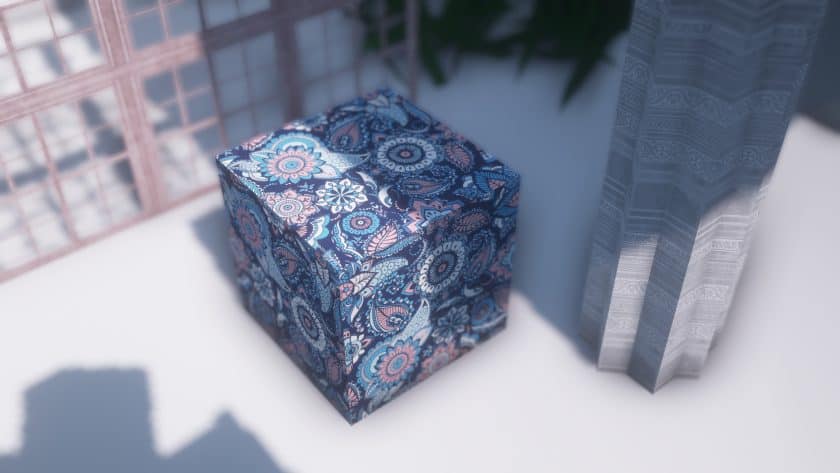
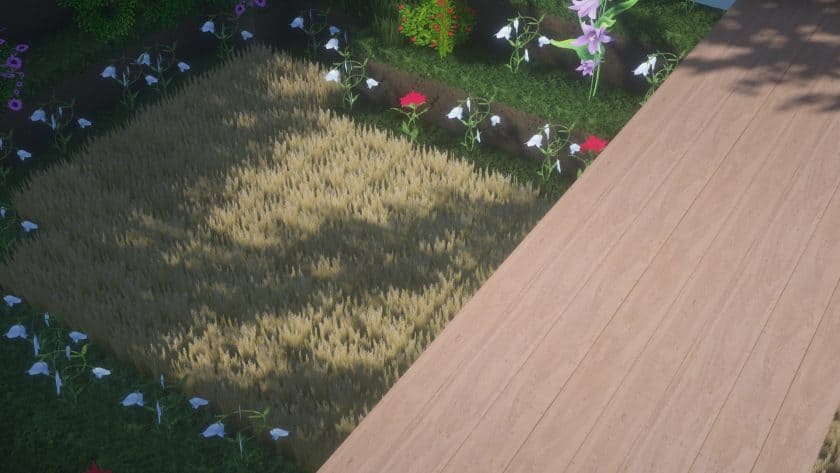
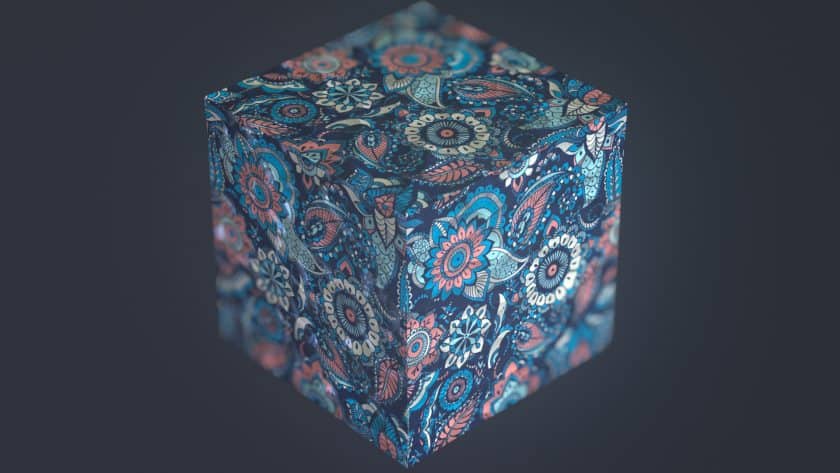
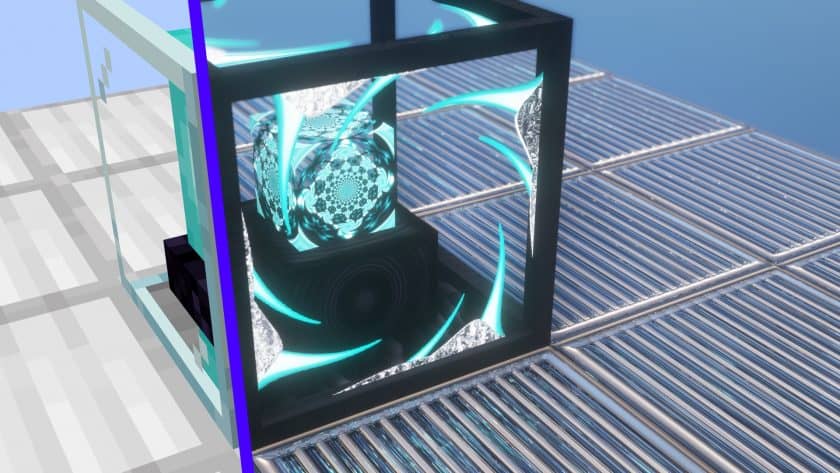
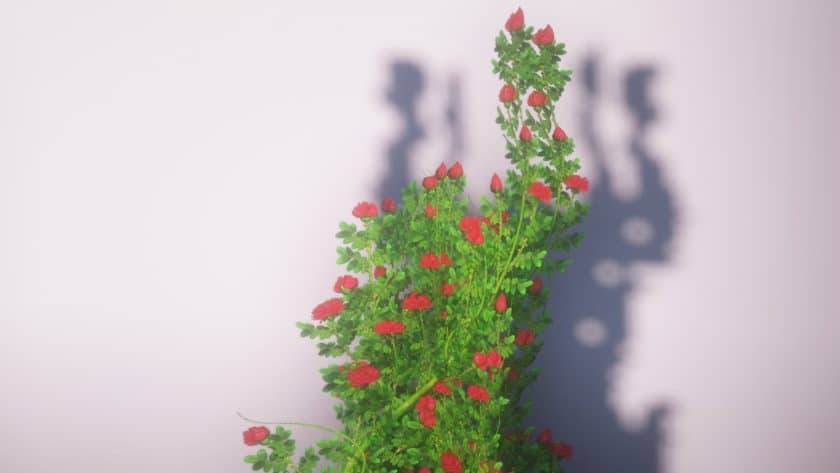
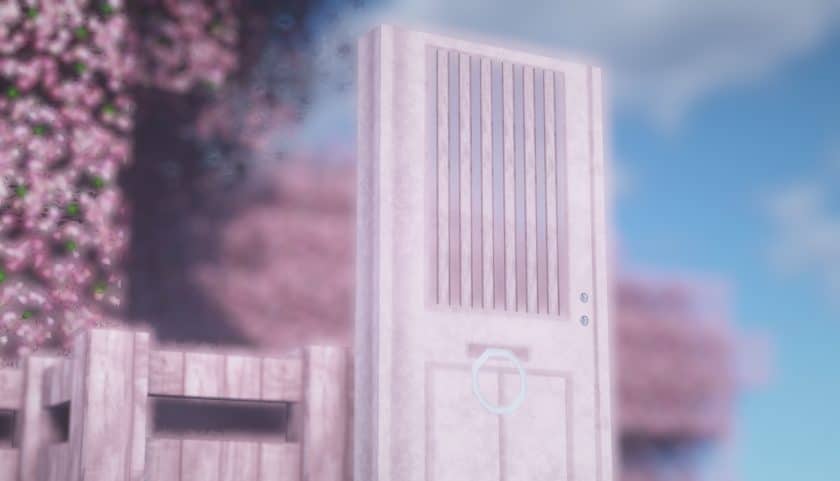
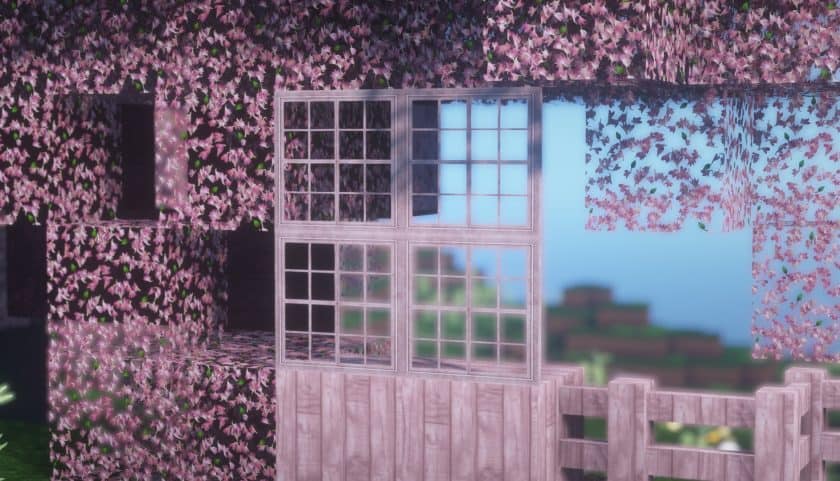
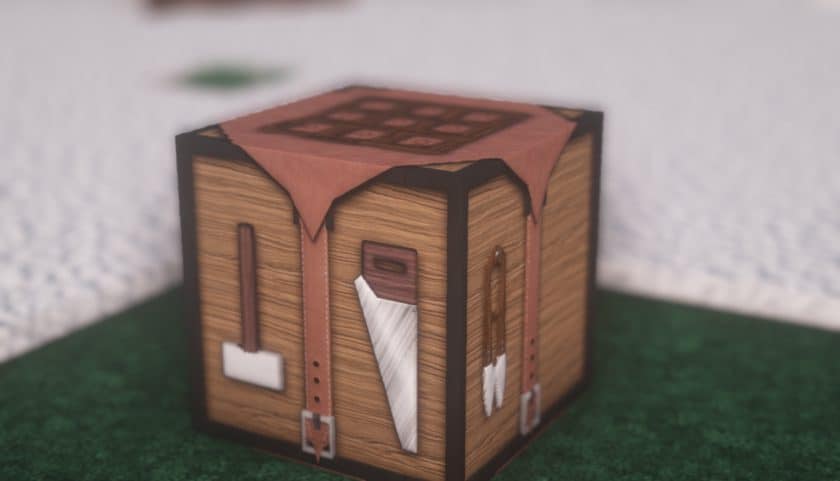
Achieving this breathtaking realism required more than just shader wizardry; it demanded a complete retexturing effort. Aryan Nikos meticulously developed higher-resolution textures, with the baseline starting at a crisp 128x. For those with more powerful hardware, the pack scales up to incredibly detailed 512x and even 1024x resolutions, where individual texture pixels virtually disappear, leaving behind silky-smooth, photorealistic surfaces. Exploring a world with URBAN feels like walking through a meticulously rendered environment, with every stone, block of wood, and patch of sand showcasing intricate detail. The creator didn’t merely up-scale existing textures; many elements were painstakingly handcrafted and rebuilt to align with Aryan Nikos’ specific artistic vision. This includes brand new textures for essential blocks like stone, wood, and sand, alongside redesigned toolboxes and other items. Furthermore, certain models have been enhanced with additional polygons, giving traditionally simple elements like small pebbles, individual leaves, and blades of grass a more organic and natural appearance. This attention to detail ensures that the immersive visual feast is consistent throughout your gameplay. While the pack is a continuous work in progress, the developer keeps the community engaged with regular updates shared on official channels, including Instagram and a dedicated Patreon page. The 128x resolution variant is generously offered for free, providing a taste of this magnificent transformation. Patrons, supporting the pack’s ongoing development, gain early access to updates and the even more demanding higher-resolution versions, truly rewarding those who invest in its future.
| Minecraft Version | Compatibility |
|---|---|
| 1.20.6 | ✅ Supported |
| 1.20.5 | ✅ Supported |
| 1.20.4 | ✅ Supported |
| 1.20.3 | ✅ Supported |
| 1.20.2 | ✅ Supported |
| 1.20.1 | ✅ Supported |
| 1.20 | ✅ Supported |
| 1.19.4 | ✅ Supported |
| 1.19.3 | ✅ Supported |
| 1.19.2 | ✅ Supported |
| 1.19.1 | ✅ Supported |
| 1.19 | ✅ Supported |
| 1.18.2 | ✅ Supported |
| 1.18.1 | ✅ Supported |
| 1.18 | ✅ Supported |
| 1.17.1 | ✅ Supported |
| 1.17 | ✅ Supported |
| Bedrock edition | ✅ Supported |
| PE | ✅ Supported |
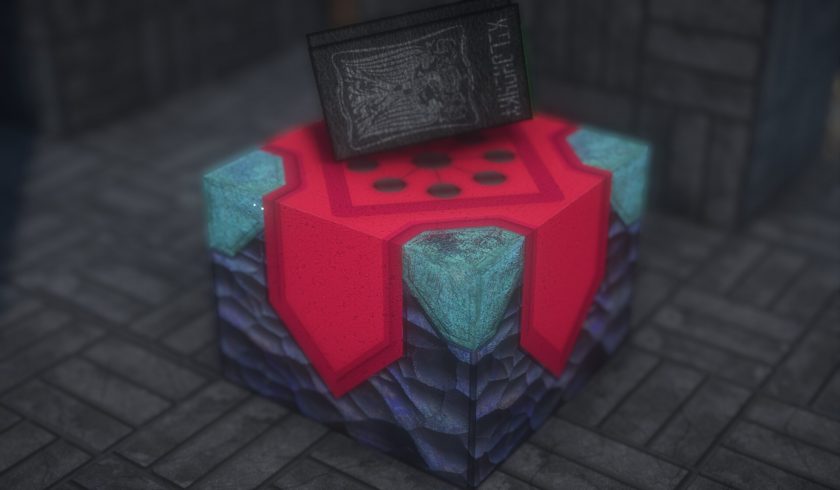
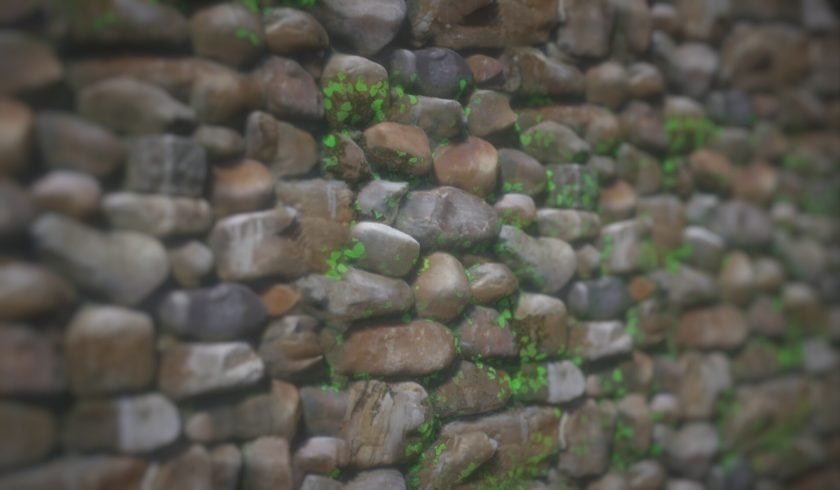
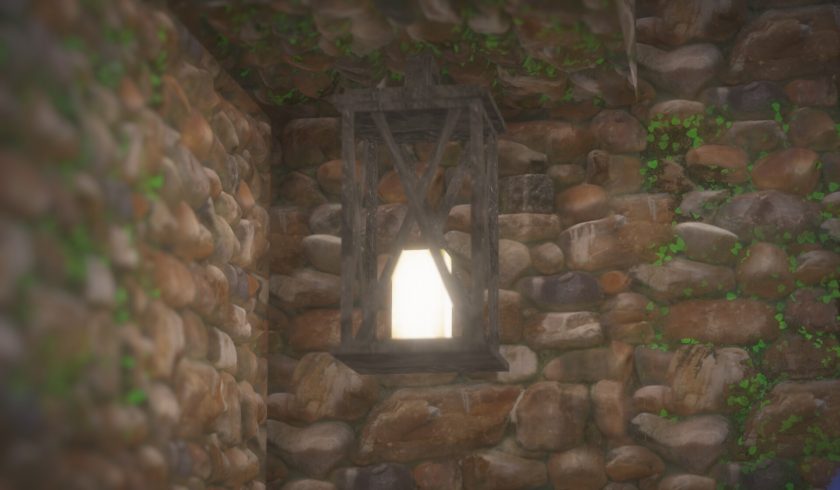
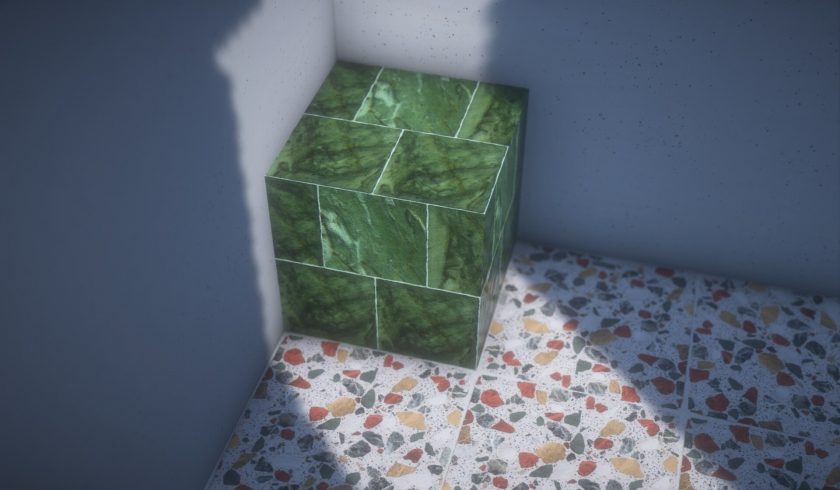
URBAN Resource Pack – Screenshots & Videos


How to Install Texture Pack (Simple 10 Steps)
- Download Optifine: Most of the texture packs and shaders need Optifine. That’s why, first download and install Optifine for the version of Minecraft you want to play.
- Download the Texture Pack: Get the texture pack you want from the download section. Choose the version that works with your Minecraft and your PC’s performance.
- Open Minecraft Launcher: Start Minecraft using the official game launcher – or even TLauncher, if you use that.
- Go to Options: From the main menu, click on the “Options” button.
- Open Resource Packs: Inside Options, click on “Resource Packs…”.
- Open the Resource Pack Folder: Click on “Open Resource Pack Folder” – this will open a folder named “resourcepacks”.
- Move the Pack File: Copy or move the .zip file you downloaded into that “resourcepacks” folder. (Don’t unzip the file – Minecraft uses it as-is!)
- Go Back and Refresh: Close the folder and click “Done”, then go back into “Resource Packs…” again.
- Activate the Pack: You’ll see the pack on the left side. Hover over it and click the arrow to move it to the right (active side). Tip: If you get a message that the pack is for a different version, just click “Yes” – it usually works fine.
- Click Done and Enjoy: Click “Done” again. Now your pack is ready to use in-game. It’s that easy!
Download
Download Instructions
-
CurseForge: If the pack is hosted on CurseForge, the download will begin automatically after a few seconds. If it does not start, use the “Download” button shown on the page.
-
Modrinth: If the download is from Modrinth, click the file version that matches your Minecraft build, then press the Download button. Modrinth usually offers multiple releases, so make sure you pick the correct version before installing.
-
Mediafire: On Mediafire, click the large blue Download button to start the file download. Avoid any extra pop-ups or buttons that are not related to the direct download.
-
Google Drive: For Google Drive, click the small download icon at the top right corner of the page. It looks like a downward arrow. The file will be saved to your computer immediately.
Disclaimer We do not create or modify any of the texture packs or shader packs shared on this website. All credit goes to the original creators, and every download link we provide is the official link from their page, which keeps all downloads safe. Some links may stop working after updates, so if you find a broken one, let us know in the comments and we will update it quickly. If you like a pack, consider supporting the creator by visiting their official page or website that we have linked below, and feel free to leave a comment or vote to help their work reach more players.