
Stepping into a Minecraft world enhanced by David’s Details resource pack immediately immerses you in a beautifully crafted environment, subtly hinting at a medieval or rustic setting without being overtly themed. This pack offers a significant visual upgrade for players seeking a more refined and atmospheric gameplay experience. It truly elevates Minecraft’s aesthetics, positioning itself among the top-tier 64x resolution resource packs available. The creator, DavidTheDude, meticulously redesigned numerous textures from the ground up, while others received thoughtful tweaks to achieve a superior visual appeal. While some classic textures remain, each update steadily introduces more comprehensive overhauls, continuously enriching the game’s look and feel.
The attention to detail extends beyond static textures, encompassing improved animations and enhanced lighting that breathe new life into every block and creature. When paired with the developer-recommended BSL shaders, the world transforms further, introducing natural blurs and nuanced tints that create a deeply immersive atmosphere. Newly implemented animations for various objects, alongside refinements to existing ones, contribute to a more dynamic and engaging visual experience. Textures burst with richer colors, and the introduction of new blocks and items empowers players to construct breathtaking medieval strongholds, intricate dungeons, and majestic castles, allowing for unparalleled creative expression within this charming new visual style.
A notable feature of David’s Details is its built-in support for Better Grass and Better Leaves, adding a lushness and density to the natural world. The water textures have also seen significant improvement, now appearing clearer and more inviting. While the pack introduces a wealth of changes across most biomes, players should note that desert biomes largely retain their vanilla textures, a deliberate choice that, for now, leaves them untouched. However, the day and night skies are beautifully enhanced, completing the overarching visual transformation. Operating at a 64x resolution, David’s Details strikes an excellent balance; while it’s more demanding than standard 16x packs, it’s designed to be remarkably playable even on older PCs, making its stunning visual improvements accessible to a wider audience. For the ultimate visual fidelity and lighting effects, installing Optifine and utilizing BSL shaders is highly recommended, unlocking the full potential of this exceptional resource pack.
| Minecraft Version | Compatibility |
|---|---|
| 1.12.2 | ✅ Supported |
| 1.12 | ✅ Supported |
| 1.11.2 | ✅ Supported |
| 1.11 | ✅ Supported |
| 1.10.2 | ✅ Supported |
| 1.10 | ✅ Supported |
| 1.9.4 | ✅ Supported |
| 1.9 | ✅ Supported |
| 1.8.9 | ✅ Supported |
| 1.8.8 | ✅ Supported |
| 1.8.1 | ✅ Supported |
| 1.8.6 | ✅ Supported |
| 1.8 | ✅ Supported |
| 1.7.10 | ✅ Supported |
| 1.7.9 | ✅ Supported |
| 1.7.4 | ✅ Supported |
| 1.7 | ✅ Supported |
| 1.6.4 | ✅ Supported |
| 1.6.2 | ✅ Supported |
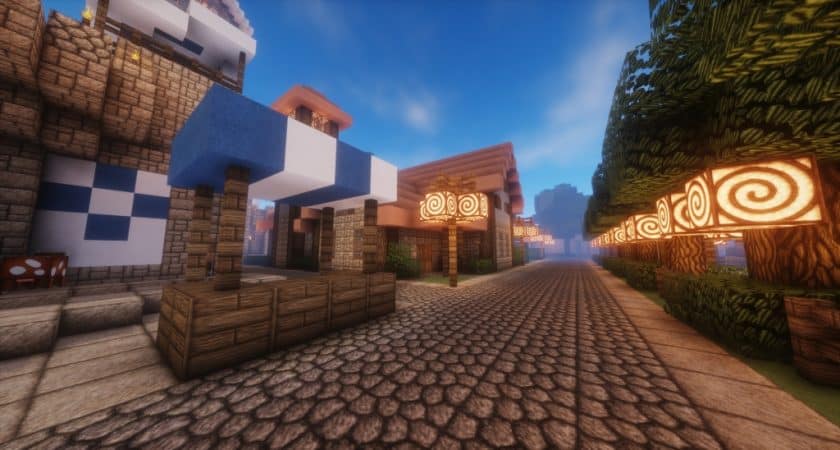
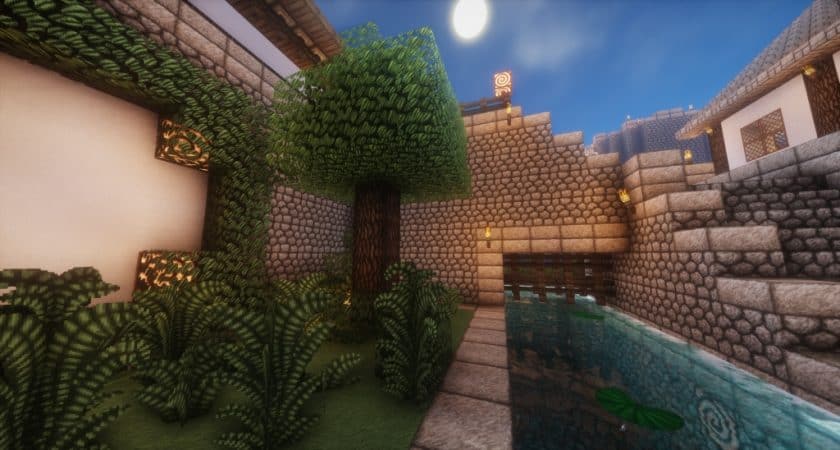
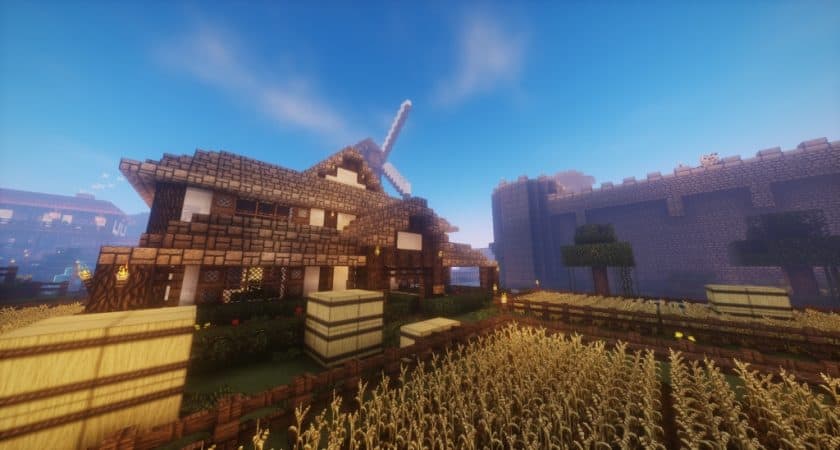
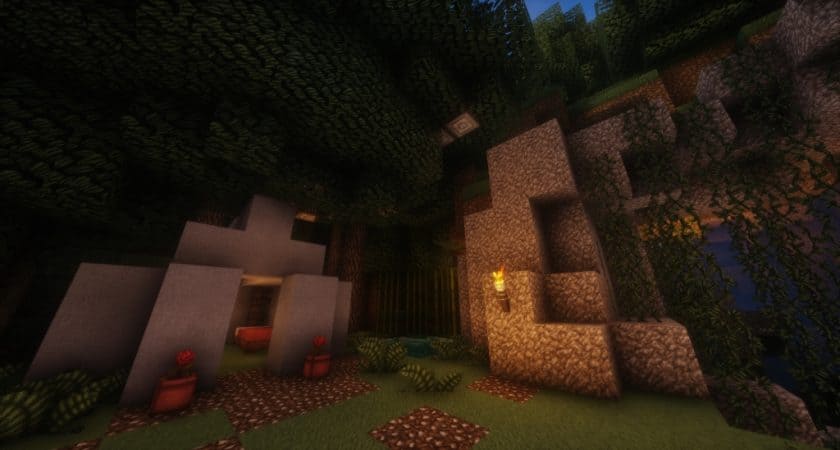
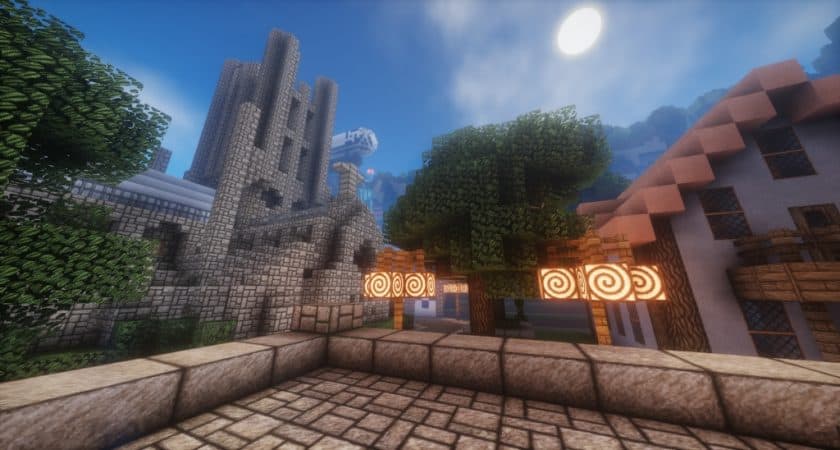
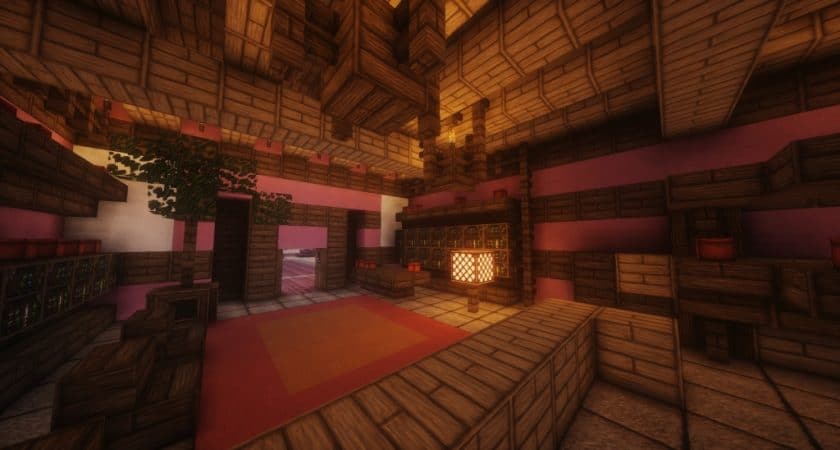
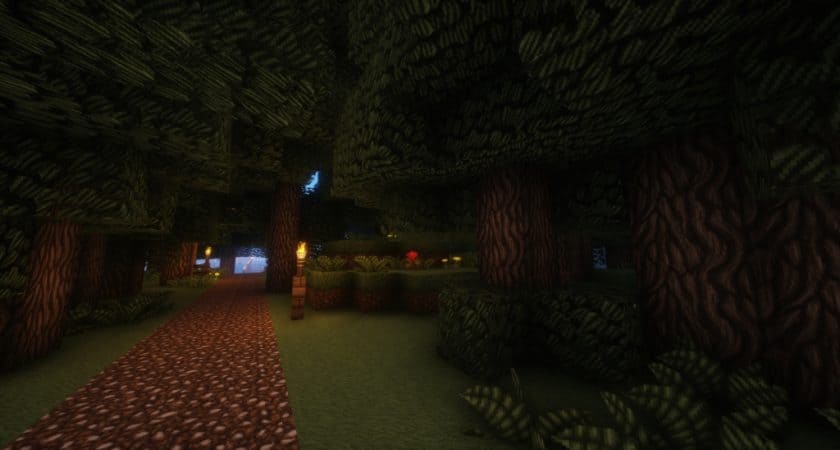
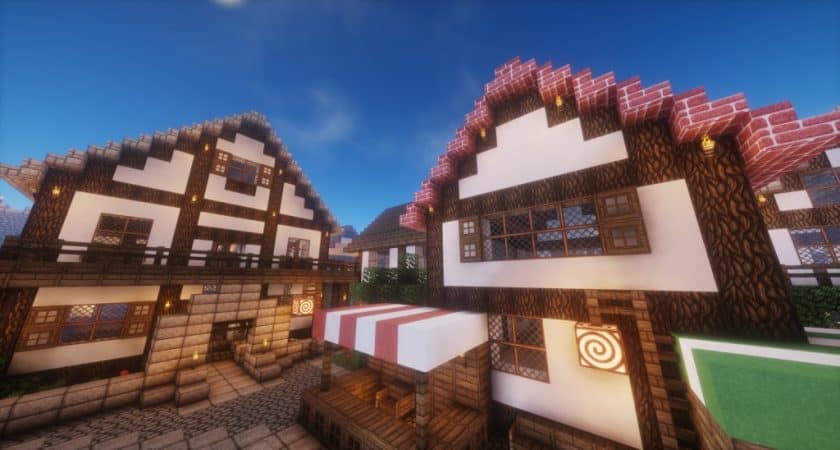
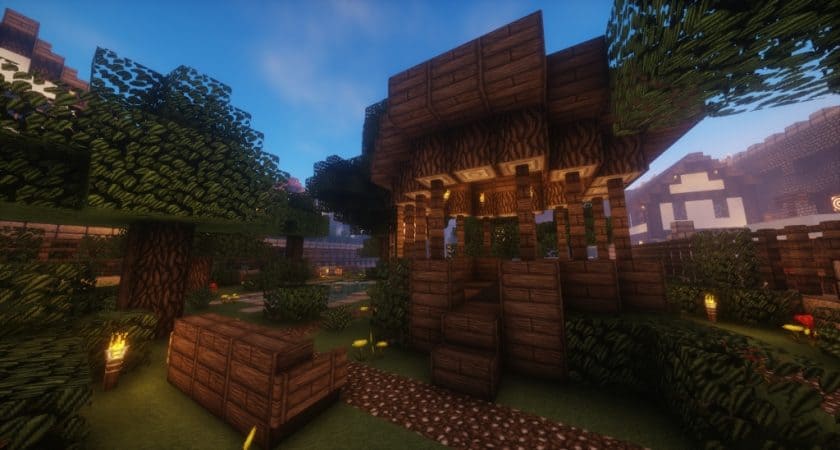
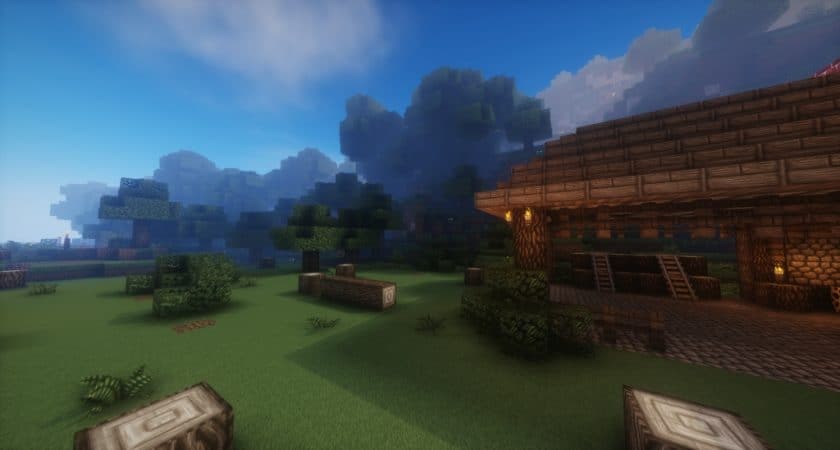
David’s Details – Screenshots
How to Install Texture Pack (Simple 10 Steps)
- Download Optifine: Most of the texture packs and shaders need Optifine. That’s why, first download and install Optifine for the version of Minecraft you want to play.
- Download the Texture Pack: Get the texture pack you want from the download section. Choose the version that works with your Minecraft and your PC’s performance.
- Open Minecraft Launcher: Start Minecraft using the official game launcher – or even TLauncher, if you use that.
- Go to Options: From the main menu, click on the “Options” button.
- Open Resource Packs: Inside Options, click on “Resource Packs…”.
- Open the Resource Pack Folder: Click on “Open Resource Pack Folder” – this will open a folder named “resourcepacks”.
- Move the Pack File: Copy or move the .zip file you downloaded into that “resourcepacks” folder. (Don’t unzip the file – Minecraft uses it as-is!)
- Go Back and Refresh: Close the folder and click “Done”, then go back into “Resource Packs…” again.
- Activate the Pack: You’ll see the pack on the left side. Hover over it and click the arrow to move it to the right (active side). Tip: If you get a message that the pack is for a different version, just click “Yes” – it usually works fine.
- Click Done and Enjoy: Click “Done” again. Now your pack is ready to use in-game. It’s that easy!
Download
(64x) (1.12.x – 1.8.x) Download David’s Detailed Resource Pack
(64x) (1.7.x – 1.6.x) Download David’s Detailed Resource Pack
Official links:
Check out David’s Details Resource Pack on the official resource
Download Instructions
-
CurseForge: If the pack is hosted on CurseForge, the download will begin automatically after a few seconds. If it does not start, use the “Download” button shown on the page.
-
Modrinth: If the download is from Modrinth, click the file version that matches your Minecraft build, then press the Download button. Modrinth usually offers multiple releases, so make sure you pick the correct version before installing.
-
Mediafire: On Mediafire, click the large blue Download button to start the file download. Avoid any extra pop-ups or buttons that are not related to the direct download.
-
Google Drive: For Google Drive, click the small download icon at the top right corner of the page. It looks like a downward arrow. The file will be saved to your computer immediately.
Disclaimer We do not create or modify any of the texture packs or shader packs shared on this website. All credit goes to the original creators, and every download link we provide is the official link from their page, which keeps all downloads safe. Some links may stop working after updates, so if you find a broken one, let us know in the comments and we will update it quickly. If you like a pack, consider supporting the creator by visiting their official page or website that we have linked below, and feel free to leave a comment or vote to help their work reach more players.